Explore Nesa's Testnet: Decentralized AI Inference on Blockchain
Discover the innovative blockchain Nesa's testnet, providing developers with a unique opportunity to explore its capabilities in a testing environment. Join the decentralized AI inference revolution now!
CRYPTOCRYPTO NEW PROJECT
Digital Didactica
9/5/20246 min read
Nesa, the innovative blockchain designed for decentralized AI inference, has recently launched its testnet, marking a crucial milestone in the development of its platform. This testnet provides developers and blockchain enthusiasts with their first opportunity to explore Nesa's unique capabilities in a testing environment.
Testnet Objectives
Nesa's testnet aims to achieve several key objectives:
Test Nesa’s Core Infrastructure: Assess the stability and functionality of Nesa's blockchain infrastructure.
Evaluate Decentralized AI Inference Performance: Measure the efficiency of decentralized AI inference.
Identify and Resolve Potential Issues: Detect and address any potential issues before the mainnet launch.
Introduce the Community to Nesa's Features: Allow the community to become familiar with Nesa's unique functionalities.
Key Features
The testnet highlights several of Nesa's innovative features:
Decentralized AI Marketplace: A decentralized hub for exchanging AI models on the blockchain.
Advanced Privacy Techniques: Implementation of Zero-Knowledge Machine Learning (ZKML) and split learning to ensure data privacy.
Consensus System Optimized for AI Inference: A consensus mechanism specifically designed to optimize decentralized AI inference.
Importance for the Ecosystem
This testnet represents a pivotal moment for Nesa, offering a tangible glimpse into its vision of a decentralized, secure, and privacy-focused AI platform. It allows developers to start building and testing applications on Nesa's infrastructure, paving the way for a robust ecosystem of decentralized AI applications.
Community Participation
Nesa strongly encourages community participation in the testnet. Developers, miners, and blockchain enthusiasts are invited to join the network, launch nodes, and provide valuable feedback to enhance the platform.
Launching a Node on the Nesa Testnet
For those interested in actively participating in the testnet by launching a node, here is an introduction to the general steps to follow:
Prerequisites to Get Started
Before diving in, ensure you have MetaMask installed and access to a Virtual Private Server (VPS), which we'll use to deploy your validator. If you're unfamiliar with choosing or setting up a VPS, don't worry—detailed instructions and helpful links are provided below to guide you through the process.
Ready to Get Started?
Carefully follow each step, and make sure to copy and paste every command exactly as provided. Take your time to understand what’s happening at each stage. Ensure the results you see match the ones I’ll show in this guide. After you paste a command:
To paste the command, simply right-click in your terminal.


Step 01
sudo curl -L "https://github.com/docker/compose/releases/download/1.29.2/docker-compose-$(uname -s)-$(uname -m)" -o /usr/local/bin/docker-compose


Step 02
sudo chmod +x /usr/local/bin/docker-compose

Step 03
docker-compose -v

Step 04
sudo apt-get update

Step 05
sudo apt-get install -y curl

Step 06
apt install jq -y
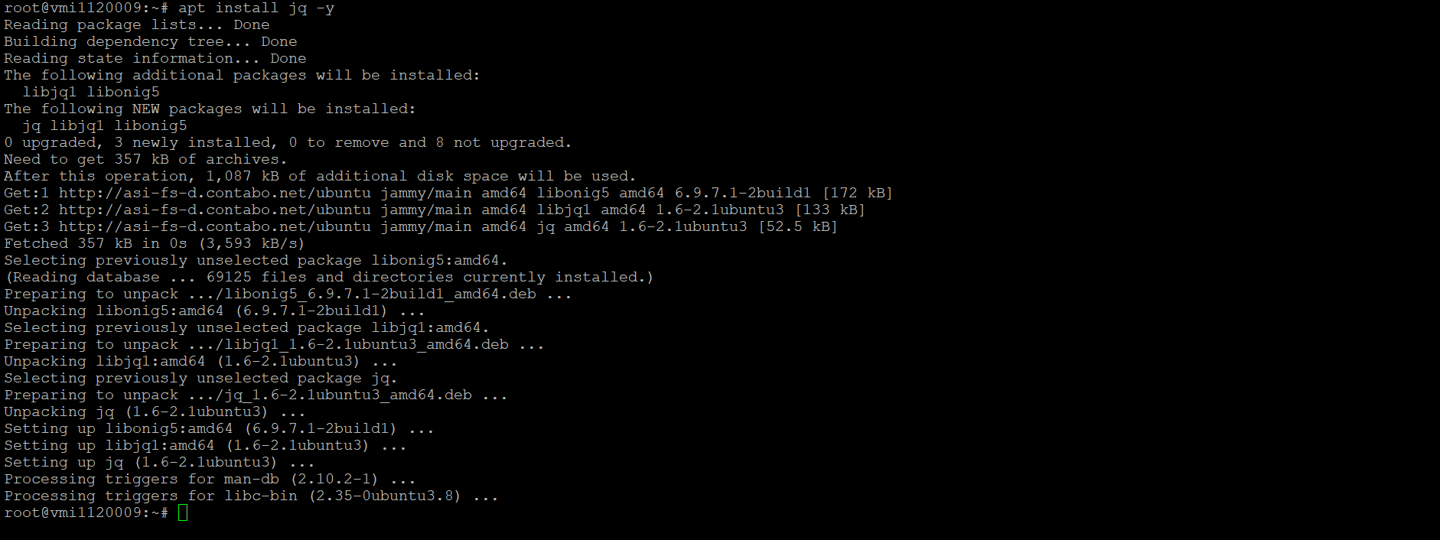

Step 07
jq --version
Step 08
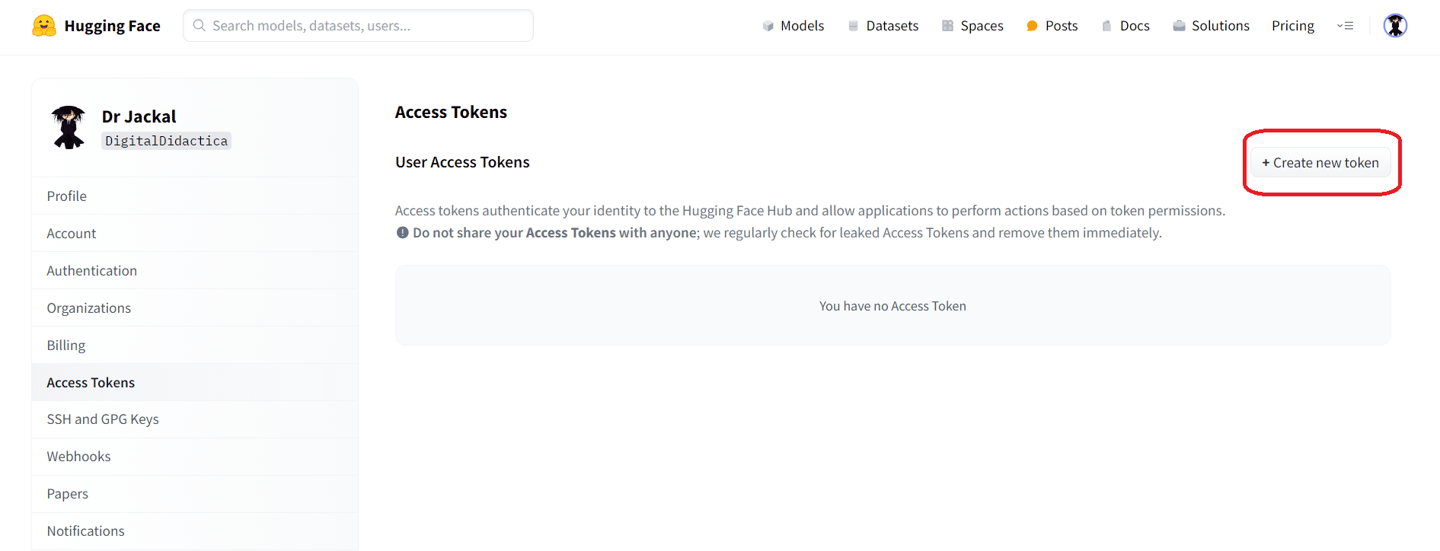
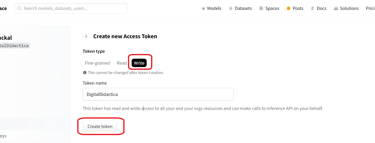
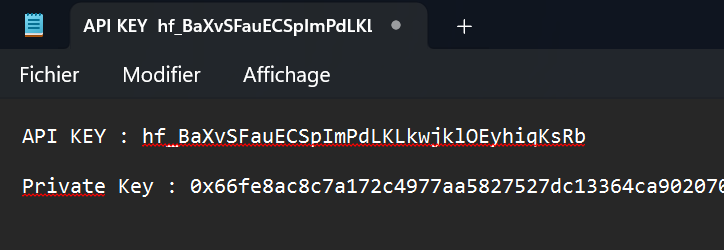
You'll require an API token from Hugging Face.
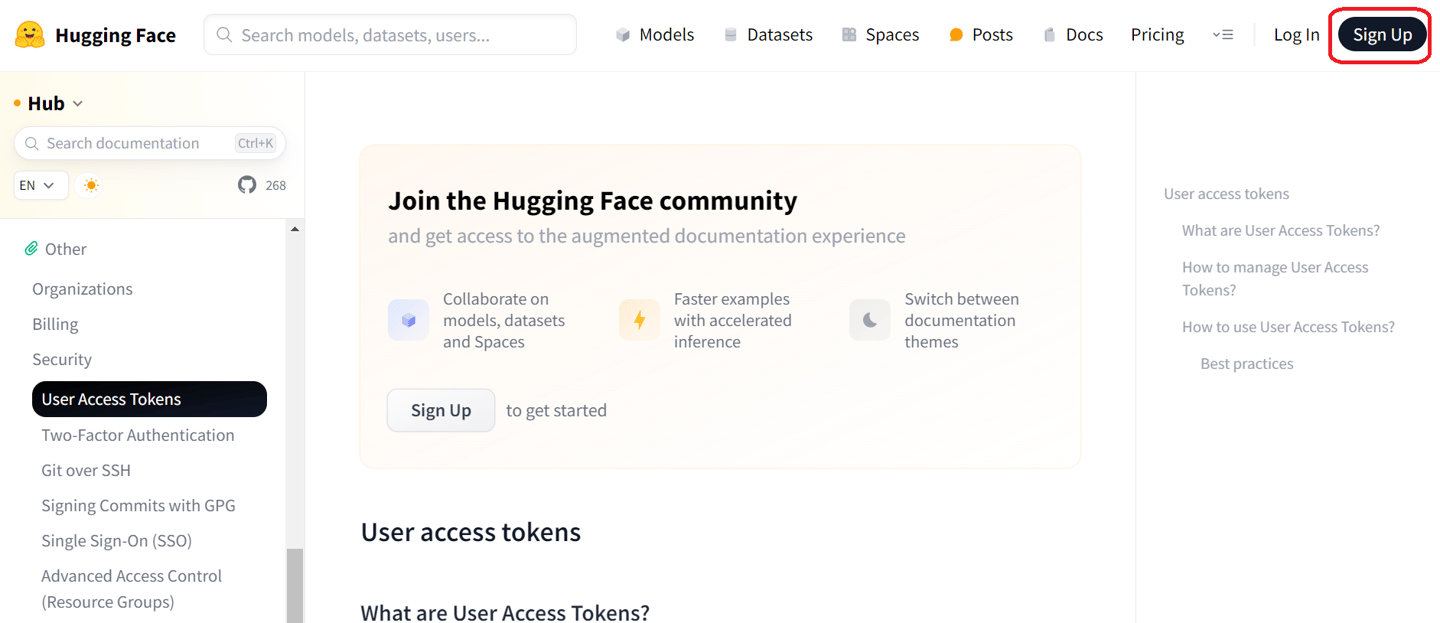

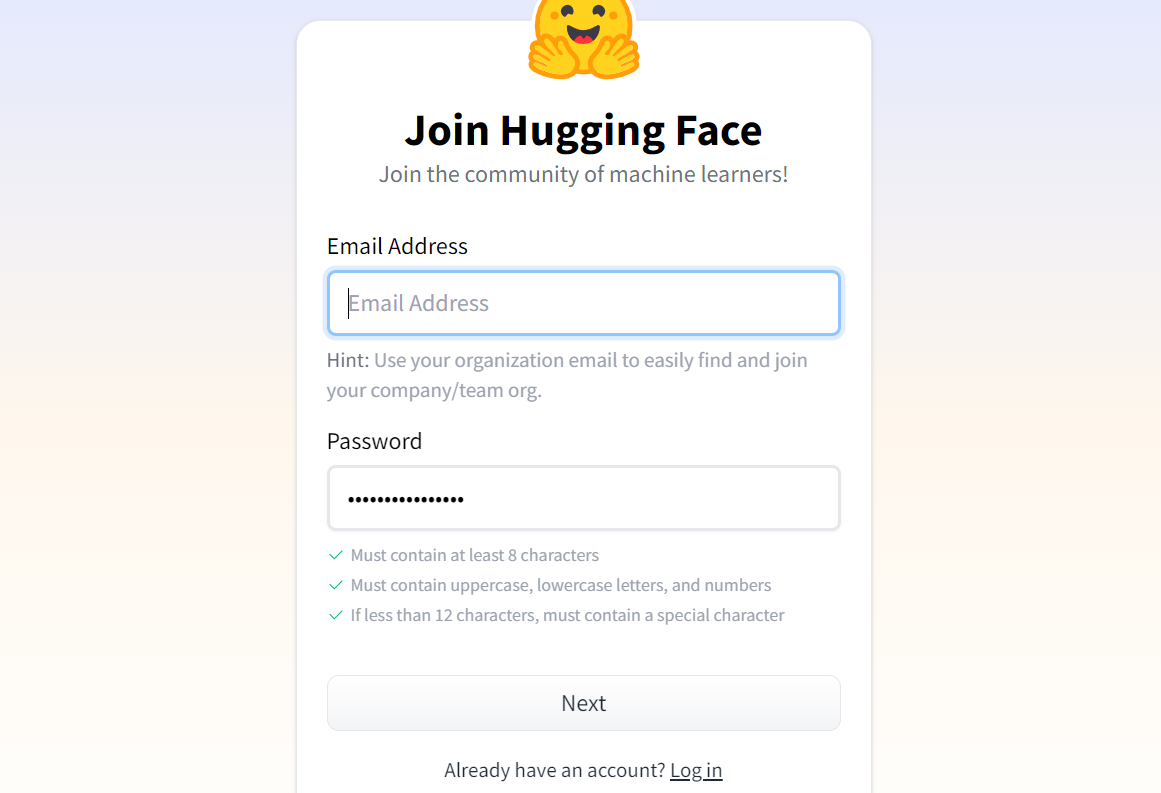

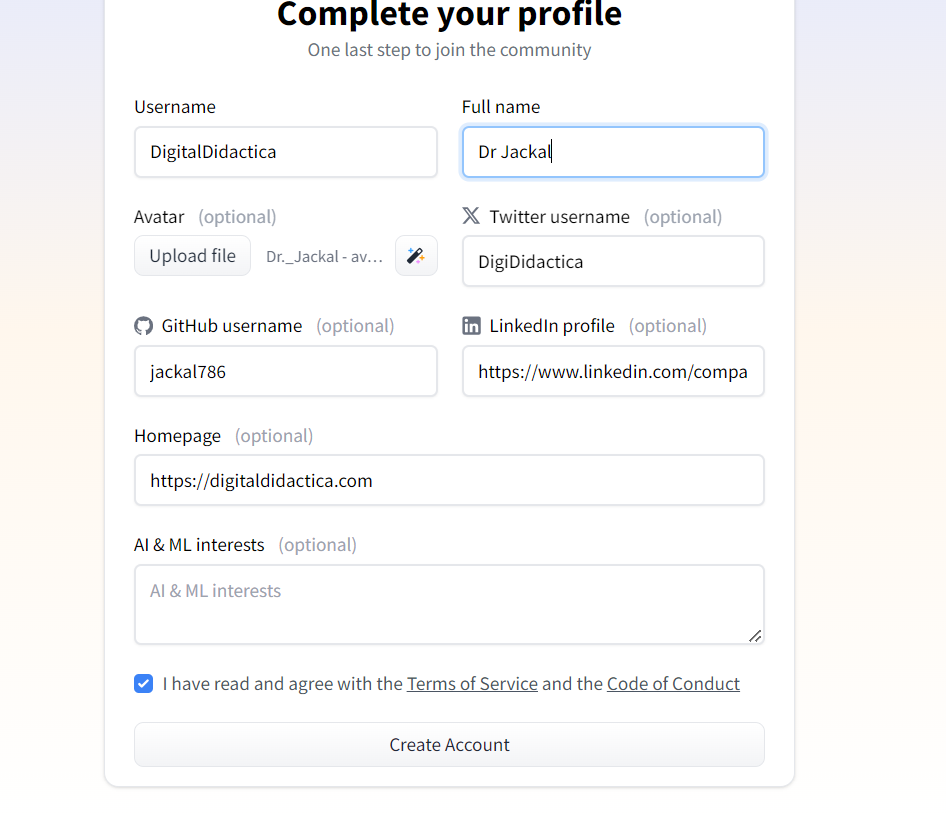


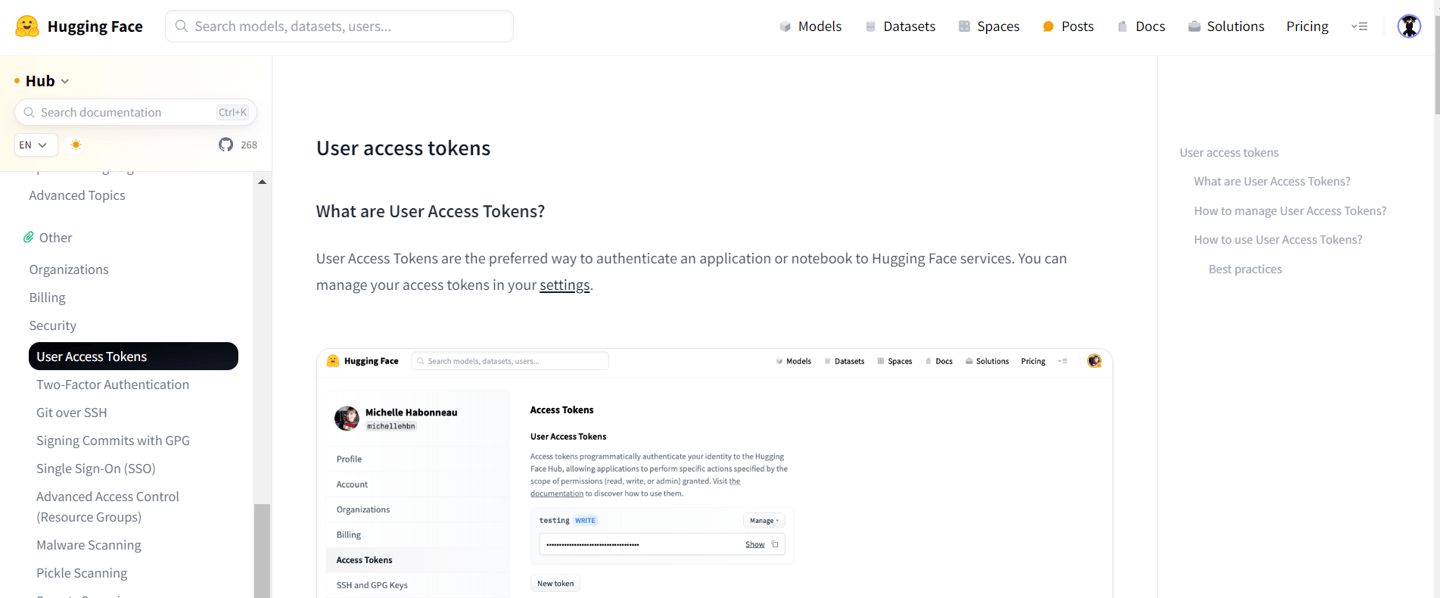

Go to HuggingFace User Access Token for configuring the HuggingFace API Key. To directly access the correct section of your HuggingFace account, click the button below:




Step 09
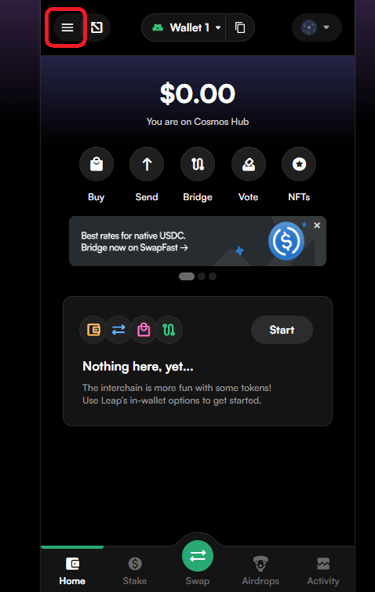
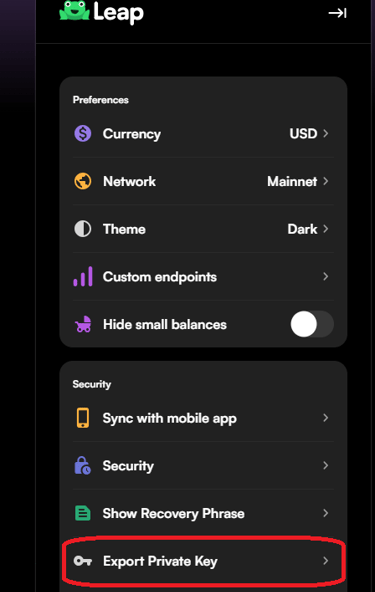
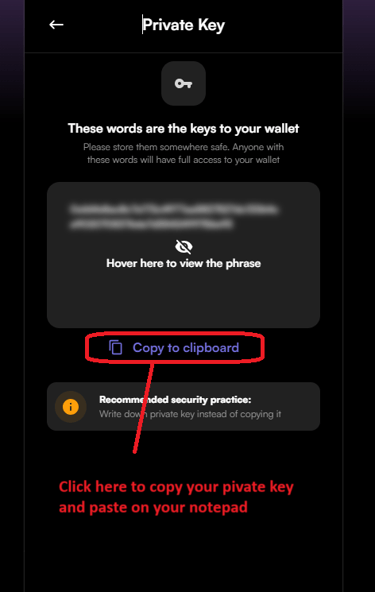
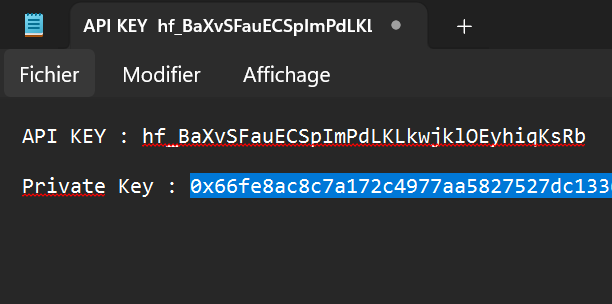
You need to install Leap Wallet and create a new account. Once your wallet is ready to use, you need to retrieve your private key. This key should never be shared with anyone. We strongly advise you to never use a wallet that holds your funds but always open a new wallet for any testnet.




Step 10
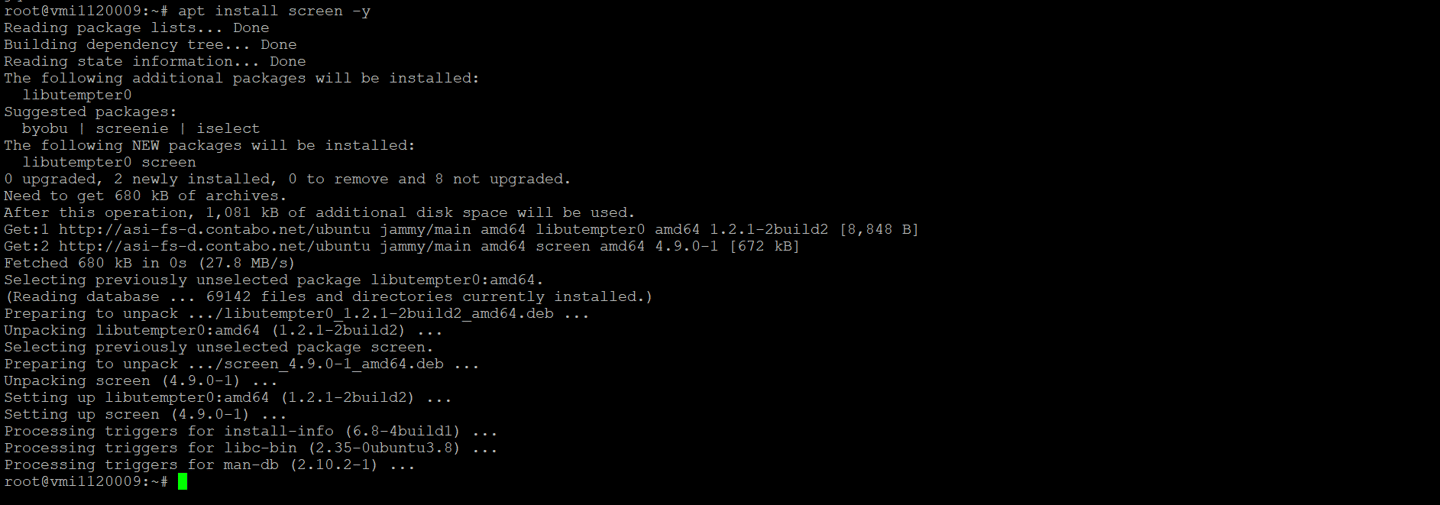

apt install screen -y
Step 11
Create a nesa screen
screen -S nesa

Step 12




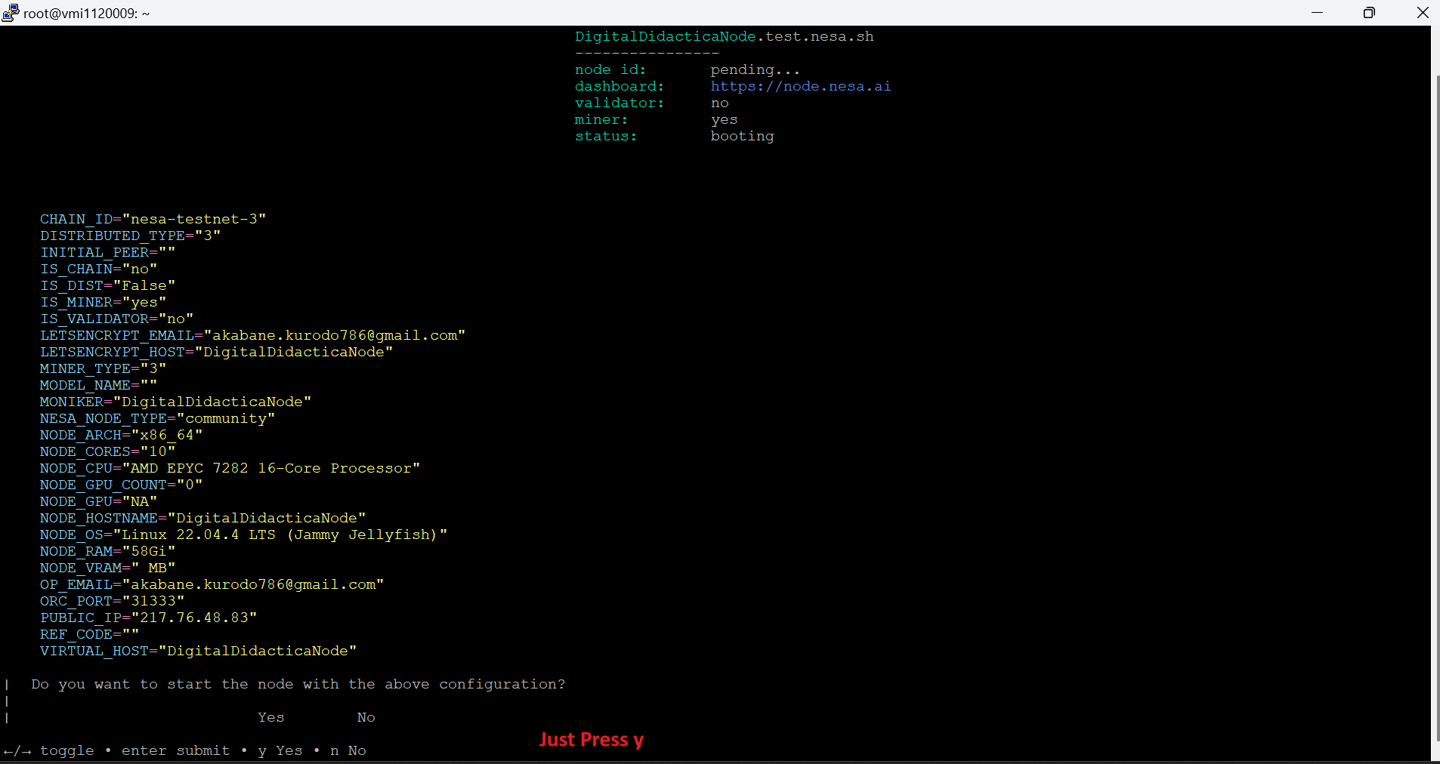


We recommend pressing CTRL+A+D at the same time to exit the Nesa screen before you lose connection, as the waiting time will be several hours.

Step 13
You even have the option to close your terminal as long as you have properly detached the Nesa screen, as shown in the image above. After an hour, I invite you to reopen Putty and check the progress of your node's bootstrap using the command below :
screen -r nesa
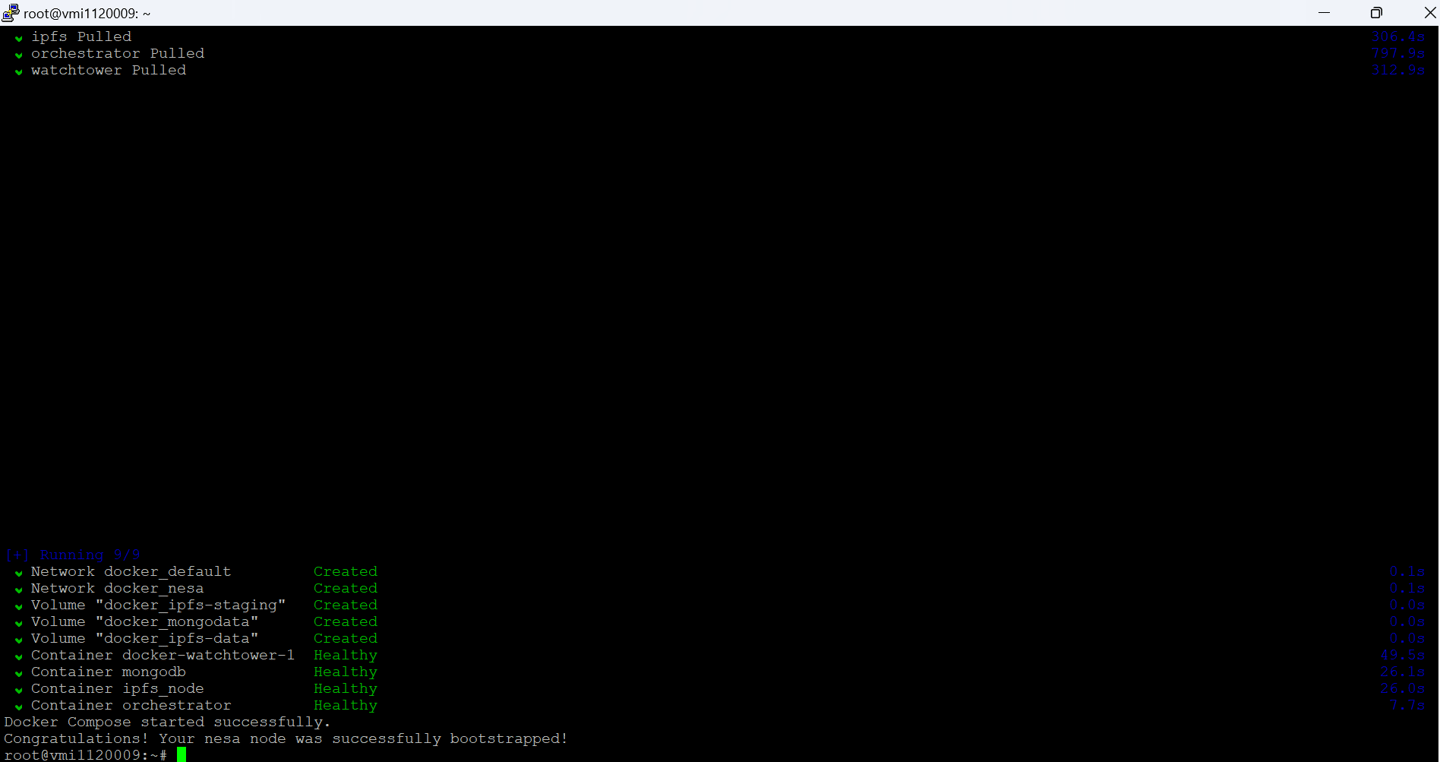

If you see the same result as in the image above, it means your node has successfully bootstrapped. If it is still in the process of bootstrapping, please check back later. Don’t forget to detach the Nesa screen by pressing CTRL+A+D.
Step 14
Check Docker containers status :
docker ps


Step 15
Get your Node id :
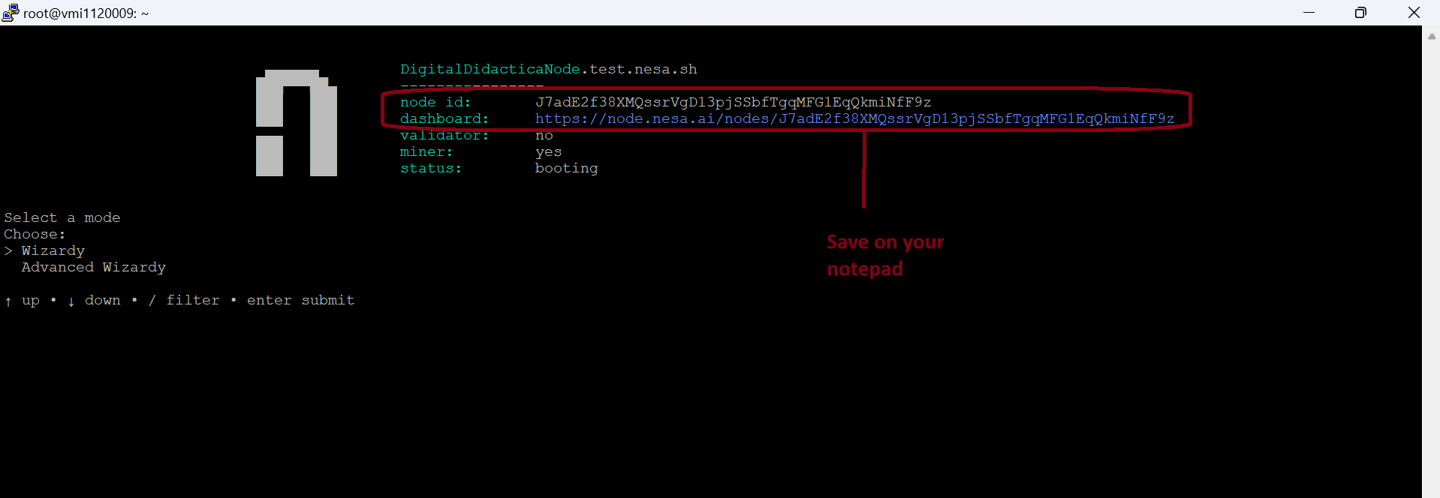

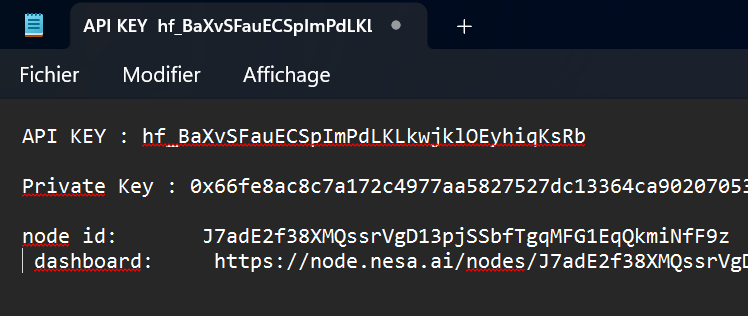

Step 16
View Your Nesa Node Status :


nesa1qjwezf0yu4canr0wc52k9ts0wlvrju66emm6c2
Copy the address below, and this will replace the address in the referral code shown in the image below:
Congratulations, you have successfully launched your node! It is essential to follow the official Discord to stay updated on any additional tasks that may need to be completed outside of the node. Below, I have provided the official links.
Nesa Official Links
Related Articles


