Easy VPS Configuration for Testnet Participation
Learn how to set up and optimize your VPS for seamless involvement in blockchain testnets with step-by-step instructions. Configure your VPS easily for testnet participation.
CRYPTO PREMIUM ARTICLES
Digital Didactica
6/23/20244 min read


Configuring a VPS for testnet participation can seem daunting, but with the right guidance, it becomes straightforward. In this tutorial, we will walk you through the process of selecting a VPS provider, setting up your server, and configuring it to join a testnet. By the end of this guide, you'll have a fully functional VPS ready to support your testnet activities, helping you earn rewards and contribute to blockchain projects. Let's dive in and get your VPS up and running smoothly.
Order your VPS on Contabo by clicking on the button :

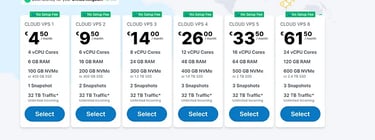
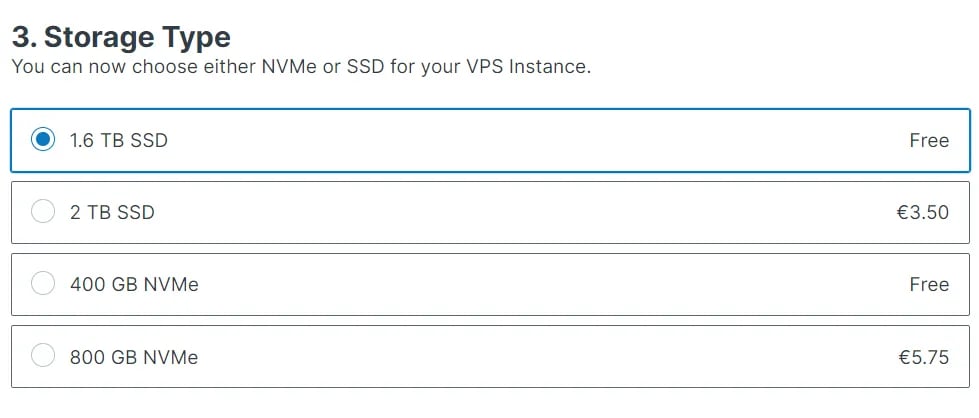
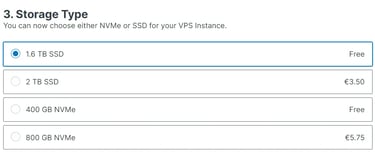
Choose VPS 4
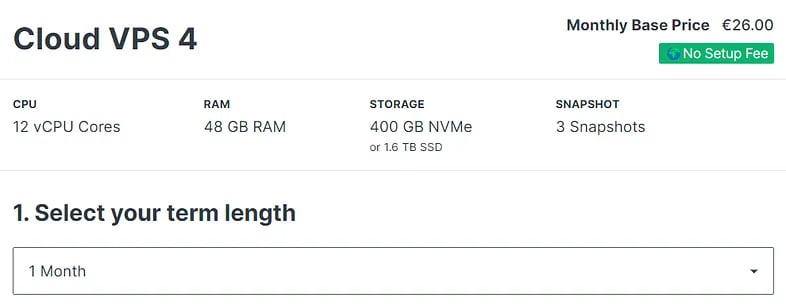
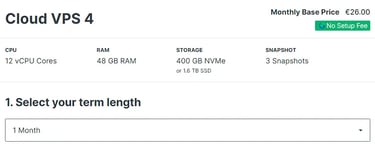
Choose a 1-month rental period; you can extend it later if necessary.

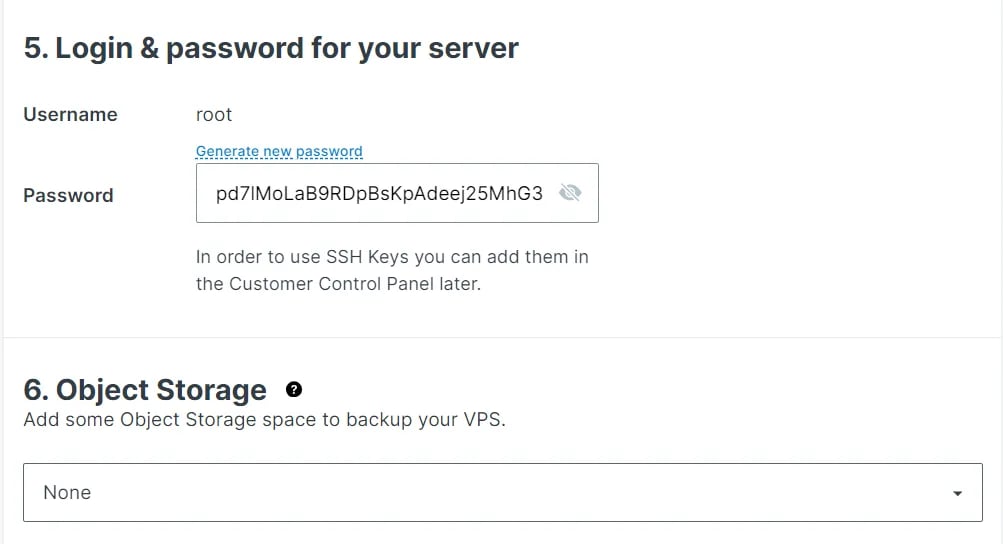
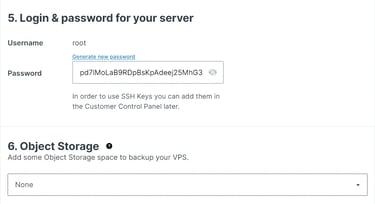
Generate your password and immediately copy and paste it into a notepad, then save it on your computer.

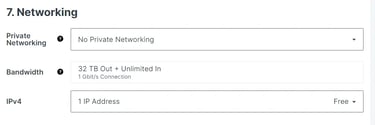
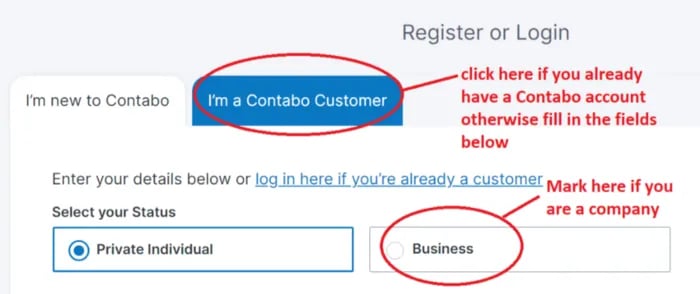
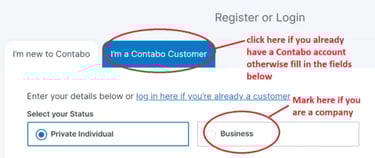
If you are new to Contabo and you are an individual user, do not make any changes.

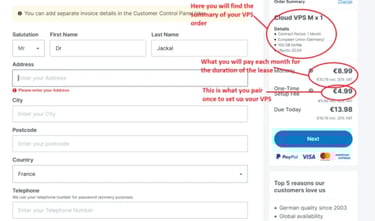
Enter your personal information into the fields provided.
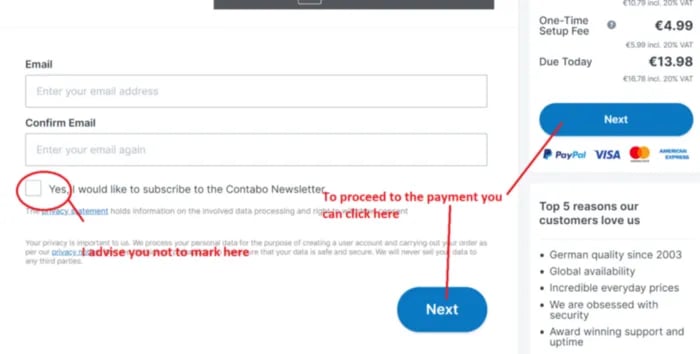
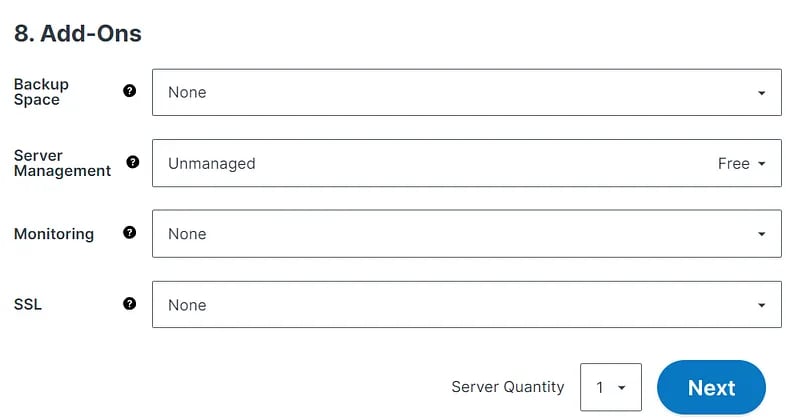
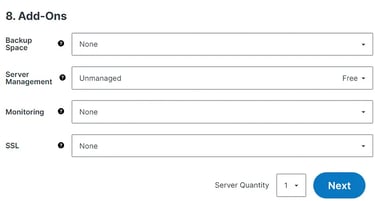
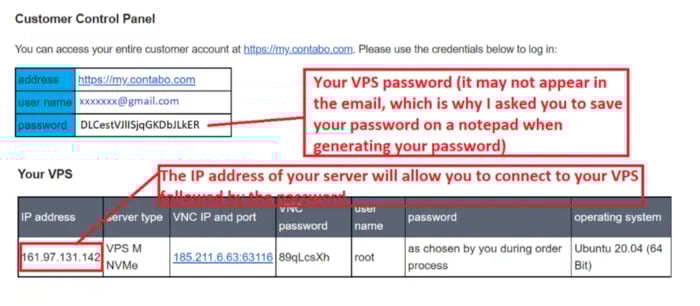
Complete the remaining fields with your personal information and click the "Next" button to proceed to payment. Once you have completed the payment, you will receive an initial email.
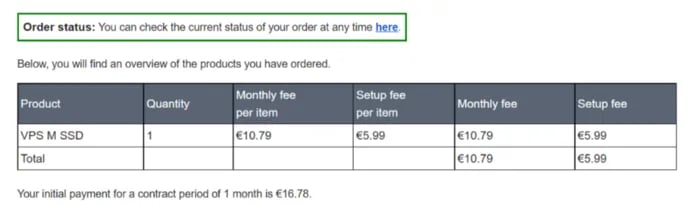
Corresponding to the status of your order. Approximately 15 minutes later, you will receive a second email containing all the information needed to connect to your VPS.
How to Connect to Your VPS?
With MacOS:
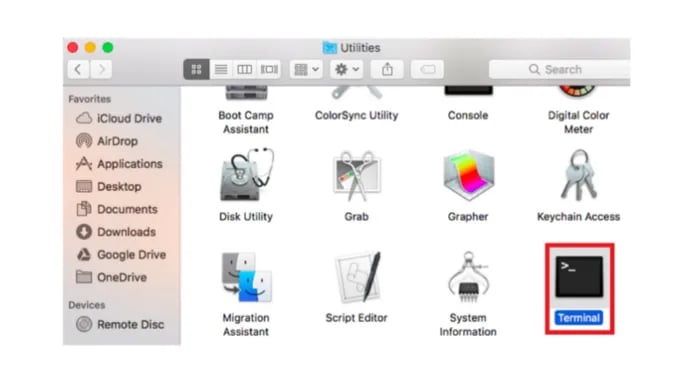

macOS already has a built-in SSH command. To connect via SSH, first, open the Terminal. You can find it by navigating to "Applications -> Utilities -> Terminal." Alternatively, you may need to download an RDP client like Microsoft Remote Desktop.
With Windows:
I'm unable to directly provide download links or initiate downloads. However, you can download PuTTY by clicking on this button :
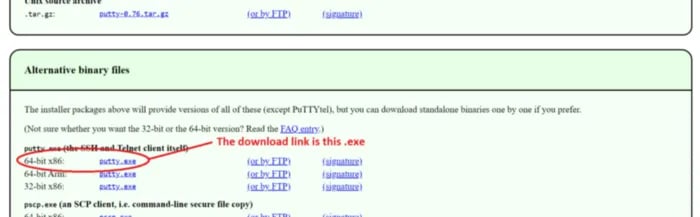
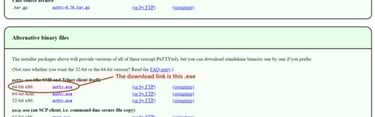
Here is the file shown in the image above. If you prefer to download a different one, please click on this button :
Next, open the .exe file to initiate the Putty installation. Follow the prompts to complete the installation process. Once finished, you'll find a Putty shortcut on your desktop.
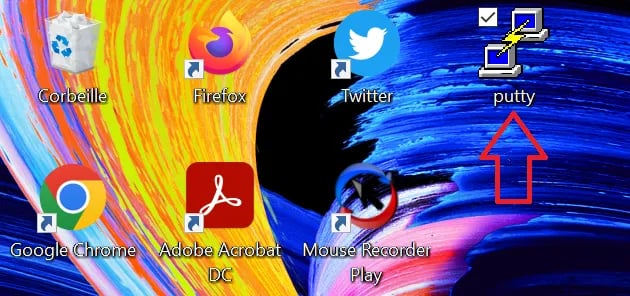

Now launch Putty
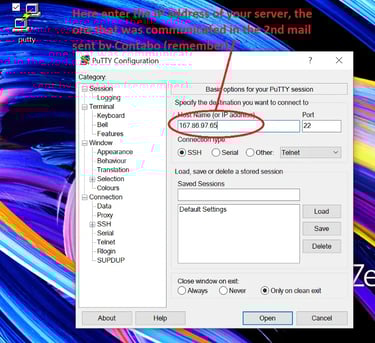
When you launch Putty, a new window will open where you need to enter the IP address of your VPS. Then, click on the "Open" button.

The server interface will open and prompt you for the login details.

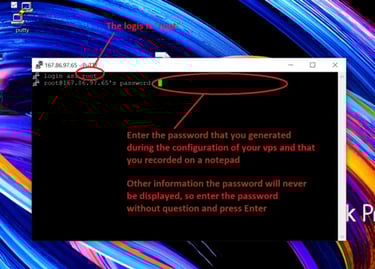
Now you are successfully logged into your server (as shown in the image below) :
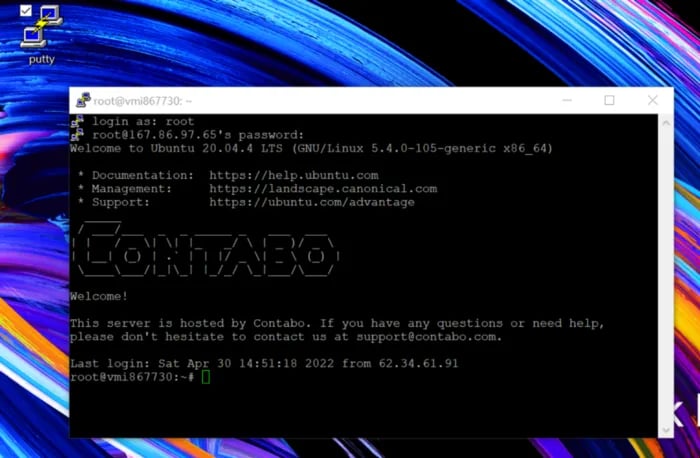

Tip 1: To paste any command that you've copied earlier, simply right-click at the desired location.
Tip 2: Only paste or type commands when your VPS server prompts for it. Wait until you see "root@vmxxxxxxxxx: " before proceeding with any command entry.


In this scenario, you have the authorization to enter or paste commands. Now, you're prepared to proceed systematically by pasting each command provided below in sequence. Take your time and ensure you follow the instructions from beginning to end. To assist you, screenshots are included to show the expected outcome after each command.
Now that your VPS is configured and ready, you are equipped to dive into the various available testnets.


Related Articles