Guide : Story testnet | iIiad testnet | How to lauch your validator node
Welcome to this comprehensive guide on setting up your validator and diving into the exciting world of blockchain story testnet. Learn everything from A to Z for beginners and experts alike.
CRYPTOCRYPTO NEW PROJECT
Digital Didactica
8/31/20247 min read
Introduction to Story
Welcome to this article dedicated to Story, the blockchain of tomorrow, revolutionizing intellectual property (IP) management through blockchain technology. If you're a beginner, don't worry! This comprehensive guide will help you set up your own validator in no time, like a true expert. No matter your current level, we'll walk you through everything step by step, explaining each detail from A to Z. Ready to level up and dive into the exciting world of blockchain? Let's get started!
Story Official Links
Prerequisites Before We Begin
Before we start, you'll need to download MetaMask, and you'll also require a VPS (Virtual Private Server) where we will launch your validator. If you're unsure how to select and set up a VPS, don't worry—everything is explained in the links provided below.


Step 01
Ready to Begin?
Follow each step carefully, and copy and paste every command I provide. Take your time and try to understand what’s happening at each stage. Ensure that the results you get match the ones I’ll illustrate in the article. After pasting the command, remember:
To paste the command, right-click in your terminal
sudo apt-get update
sudo apt-get install curl


Step 02
apt install screen -y


Step 03
mkdir story_binary
cd story_binary
Step 04
mkdir geth_client
mkdir story_client

Step 05


Step 06


Step 07
tar zxvf story-linux-amd64-0.9.11-2a25df1.tar.gz --strip-components=1 -C story_client

Step 08
tar zxvf geth-linux-amd64-0.9.2-ea9f0d2.tar.gz --strip-components=1 -C geth_client

Step 09
cd $home

screen -S geth
Step 10

Step 11
cd story_binary/geth_client

Step 12
./geth --iliad --syncmode full
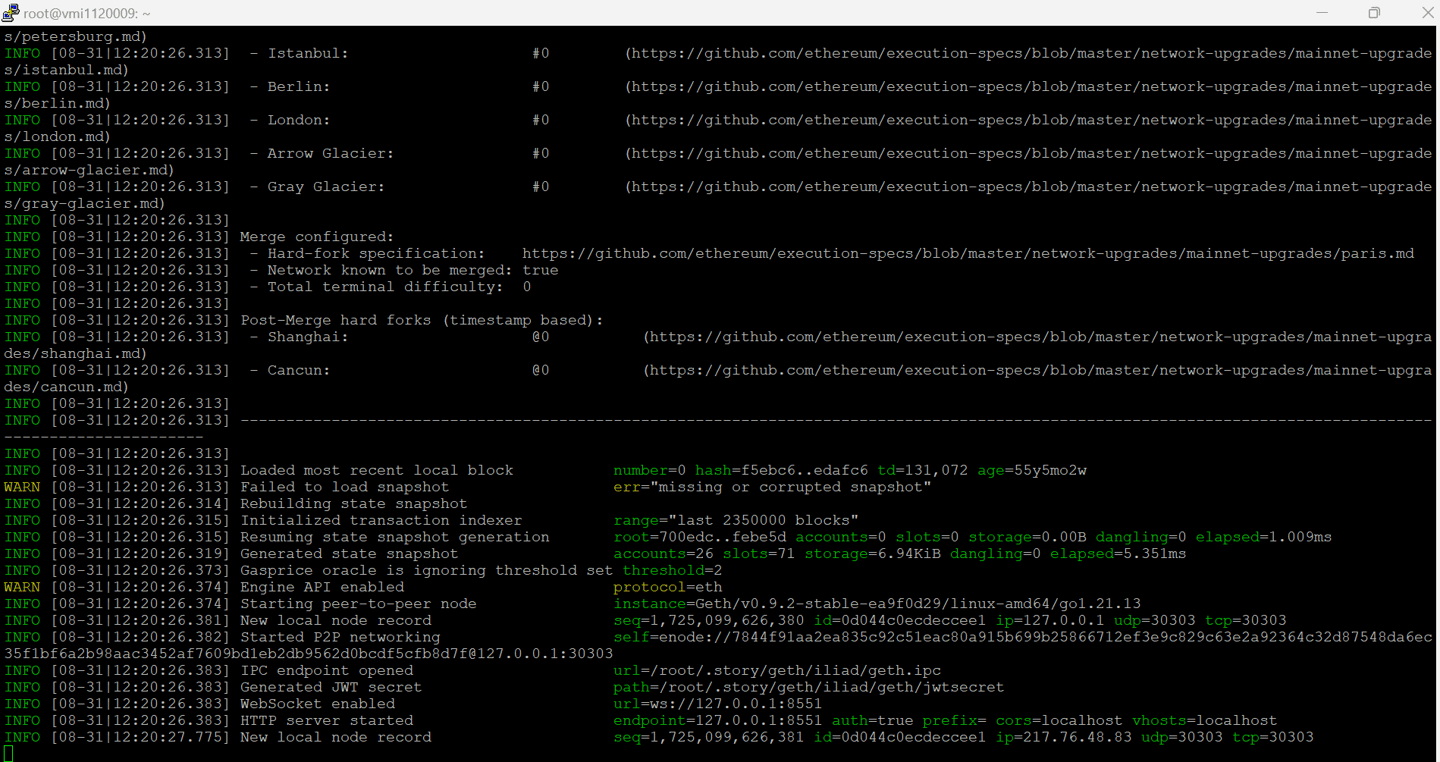

Step 13
Press CTRL+A+D to detach Geth screen

Step 14
screen -S iliad


Step 15
cd story_binary/story_client

Step 16
./story init --network iliad --moniker XXXXXXXXXX
./story init --network iliad --moniker digitaldidactica
Remplace XXXXXX by your node name like below for example :


Step 17
./story run
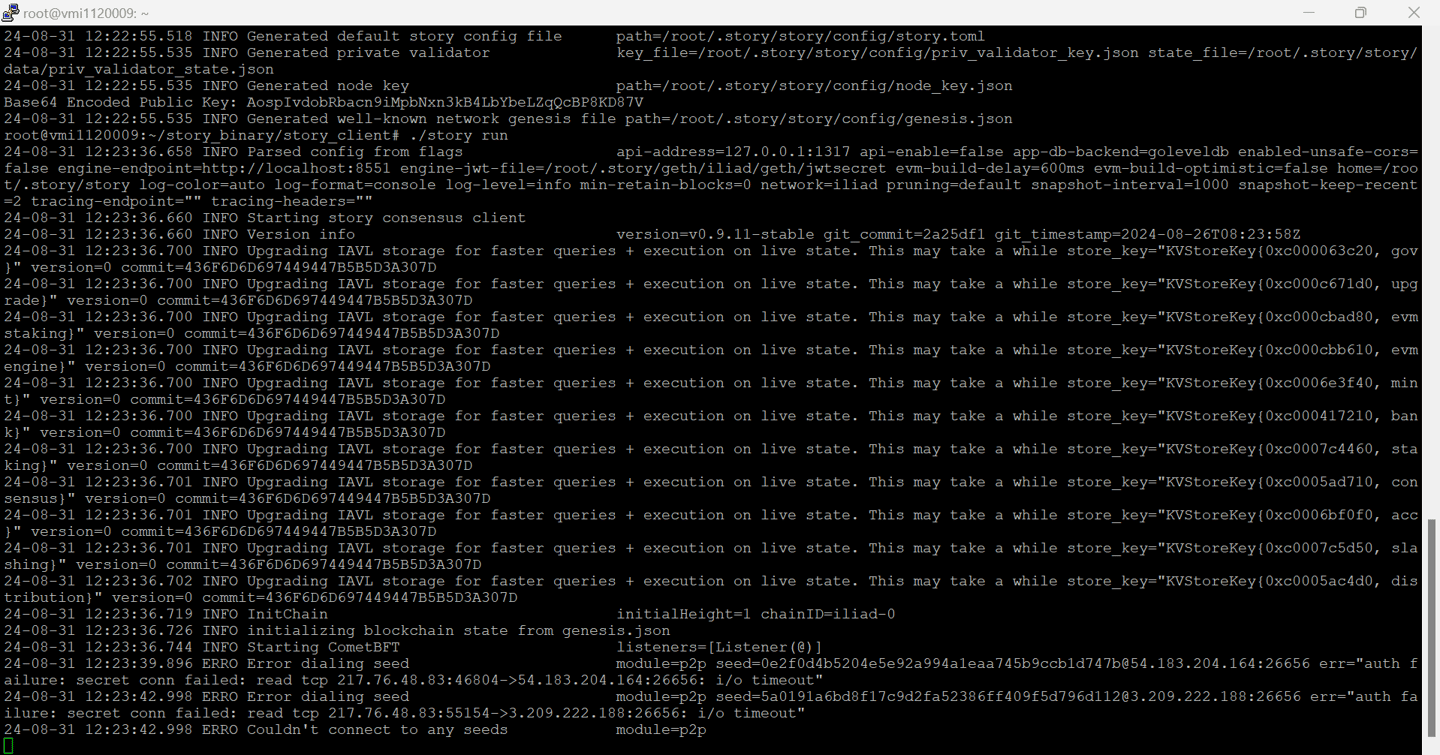

Step 18
Press CTRL+A+D to detach iliad screen

You have successfully launched your node. Now, on one side, we wait for the node to synchronize fully by downloading all the blockchain blocks, and on the other side, we also wait for the consensus layer to sync. This process can take up to 6 hours in total.
During this time, you can close Putty and come back later after a good workout session, spending time with your family, or simply watching a movie on Netflix.
After 6 hours, reopen Putty, and let's continue with the guide.
Break Time!!!


Step 19
screen -r geth
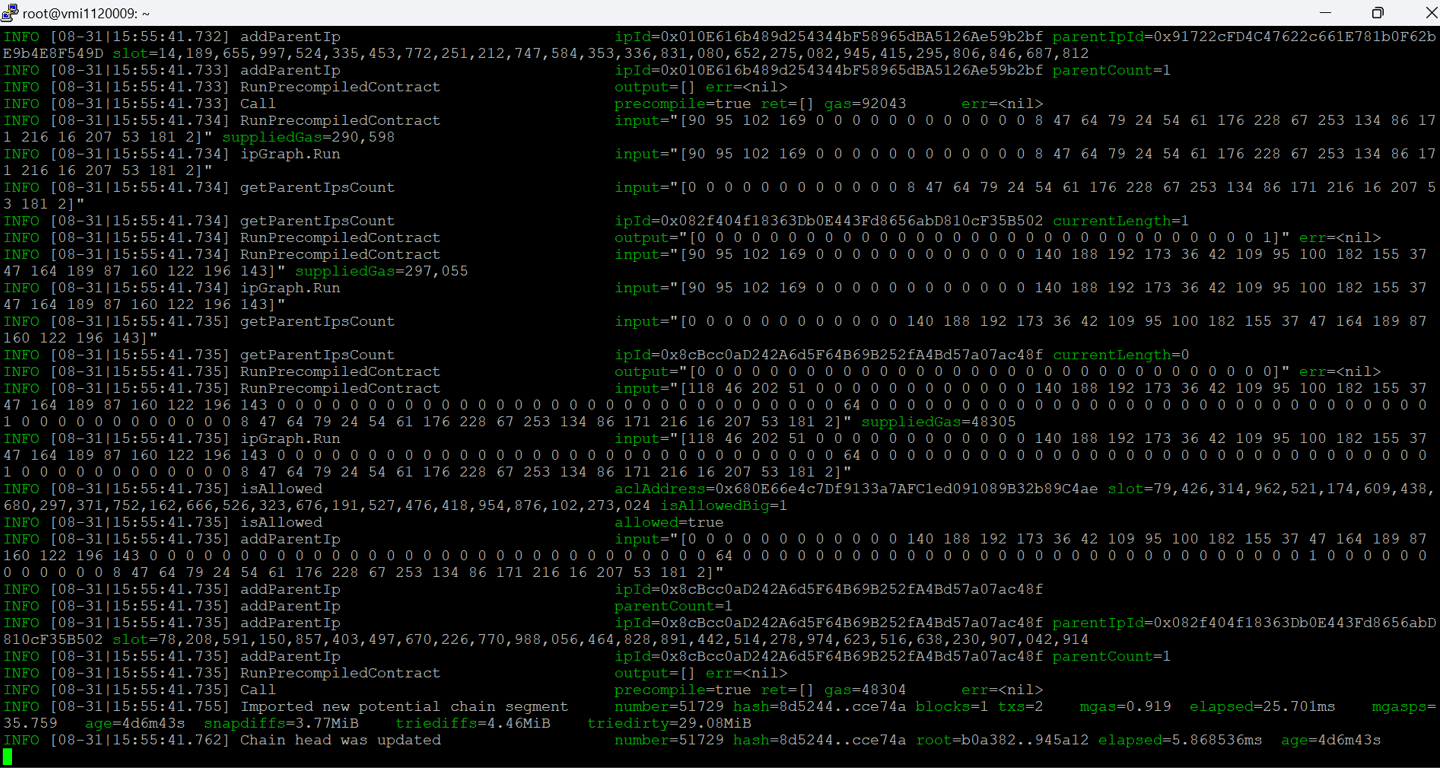

If you see the same messages on your terminal as those in the image above, it means your node is synchronized with the blockchain. Just a heads-up: the messages will scroll by so quickly that you might not catch what's happening. You can take a screenshot to capture the information in real-time.
If everything looks good, don’t forget to press Ctrl+A+D to exit the Geth screen.
Step 20
screen -r iliad
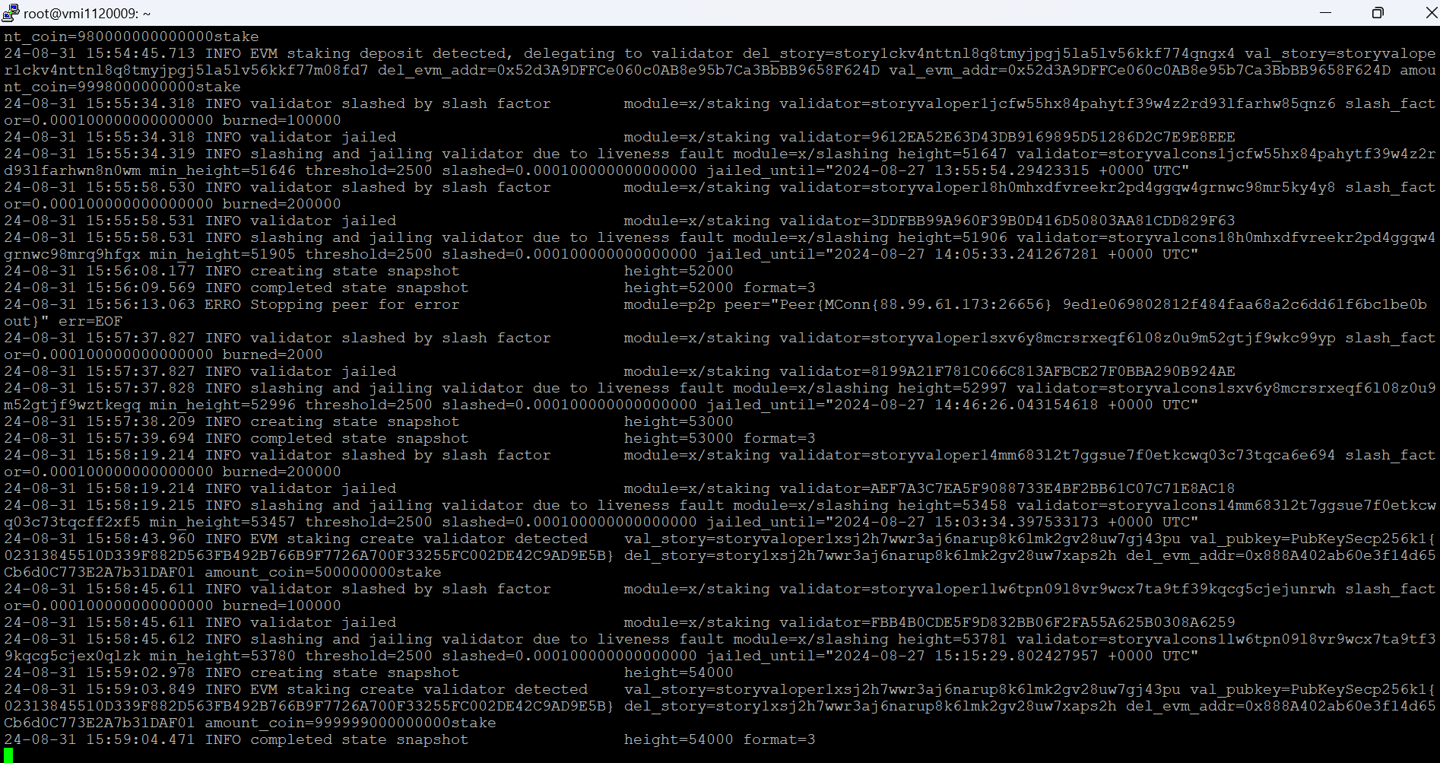

If you see messages like those in the image above, it means your consensus layer is synchronized.
Don't forget to exit the screen iliad with Ctrl+A+D before proceeding to the next step.
Step 21

cd story_binary/story_client


Step 22
./story validator export

Step 23
Copy all information in a notepad and save it!


Step 24
Step 25
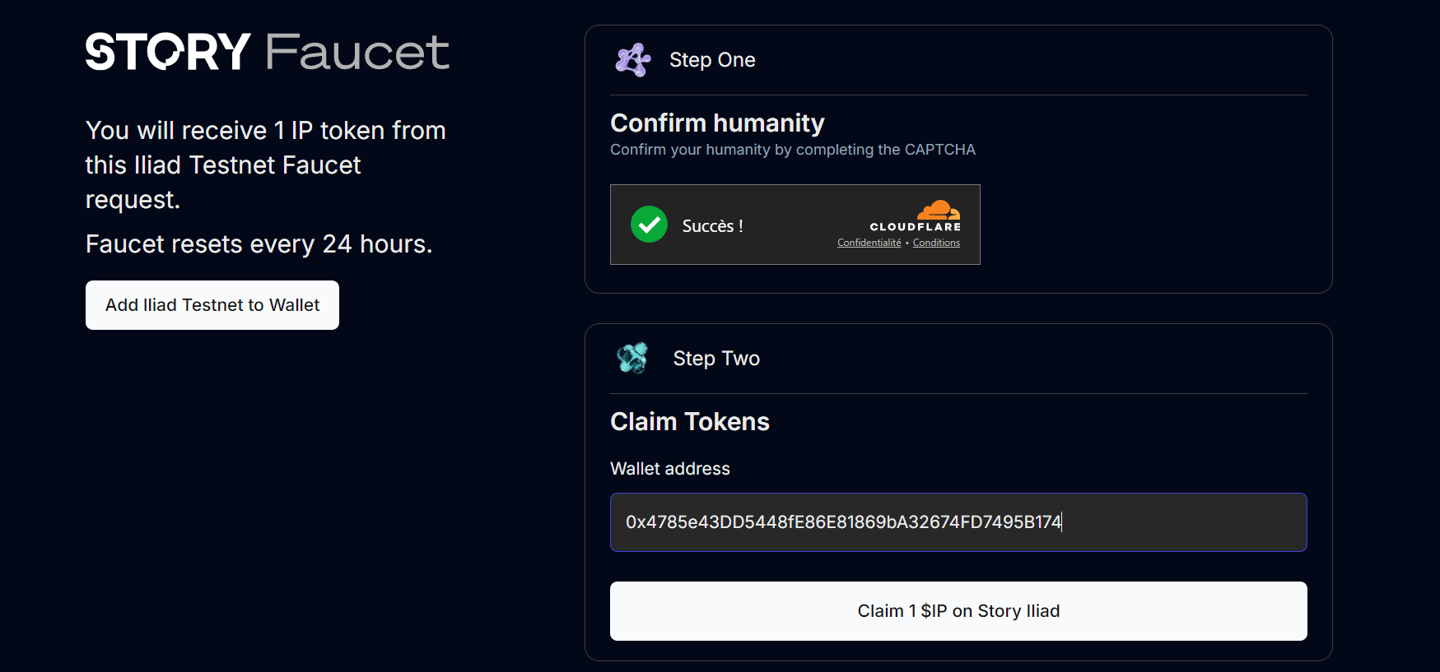
In this step, we will learn how to obtain tokens using your EVM public key (your wallet address) via the faucet.
Here's what you need to do:
Copy Your Wallet Address: Get your EVM public key (wallet address).
Access the Faucet: Go to the faucet page.
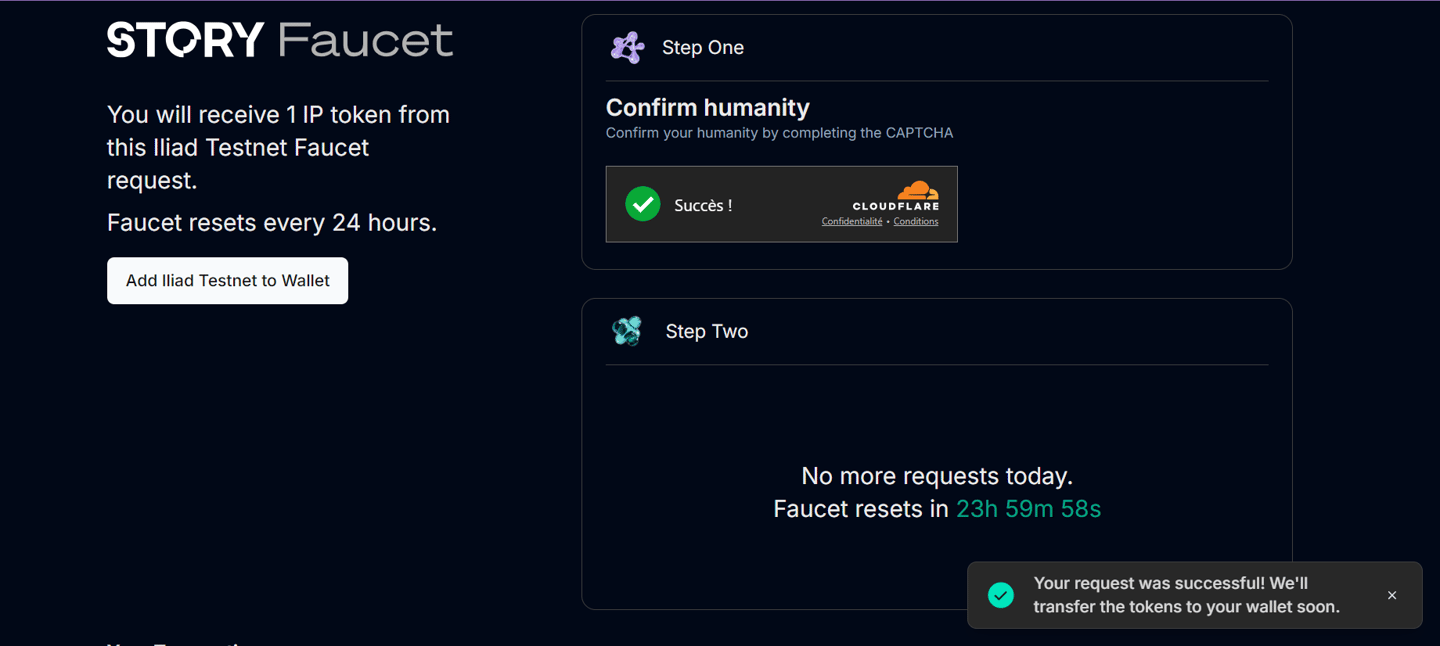
Request Tokens: Paste your wallet address into the faucet and request tokens.
You will receive 1 IP token, and you can request another IP token every 24 hours.




Optionnal :
Previously, we covered how to obtain tokens directly to your wallet linked to your validator node. However, you can also retrieve tokens via your MetaMask wallet and then transfer them to your main validator wallet.
Here's how you can do it:
Add the Testnet Network to MetaMask: Click the "Add Iliad Testnet to Wallet" button on the faucet page. Approve the addition to include the testnet network in your MetaMask.
Retrieve Tokens: Use the faucet to request tokens to your MetaMask wallet.
Transfer Tokens: Send the tokens from MetaMask to your main validator wallet.
By following these steps, you'll ensure your validator wallet is fully stocked with the necessary tokens.
Step 26
./story validator create --stake 1000000000000000000
The command above will allow you to become a validator by staking 1 IP. Since you've successfully obtained 1 IP, you might still face an issue: the transaction fees required to stake might be higher than the tokens you have. Unfortunately, you’ll need to wait 24 hours before you can request another 1 IP via the faucet.
Here’s what you need to do:
Wait and Reapply: Wait 24 hours to receive an additional 1 IP from the faucet.
Verify Your Directory: Ensure you are in the correct directory (story_client) to execute the staking command. If you are not in the story_client directory, use the following command to navigate there:cd story_binary/story_client
Run the Command: Once you have enough tokens and are in the correct directory, you can use the command to stake your IP.
By following these steps, you will be able to stake your IP and proceed with your validator setup.

Step 27
cd $home

Step 28
cd ~/.story/story/config

Step 29
cat priv_validator_key.json | grep address

Step 30
Copy your HEX adress validator in your notepad.


Step 31
In this section, we will check the status of your validator on the Story testnet explorer.
Follow these steps:
Visit the Explorer: Go to the Story testnet explorer using this link: https://testnet.story.explorers.guru/validator/XXXXXXXXXXXXXX.
Replace the Placeholder: Replace the XXXXXXXXXXXXXX in the URL with your validator’s HEX address, which you obtained in the previous step.
By doing this, you’ll be able to view the current status and performance of your validator.


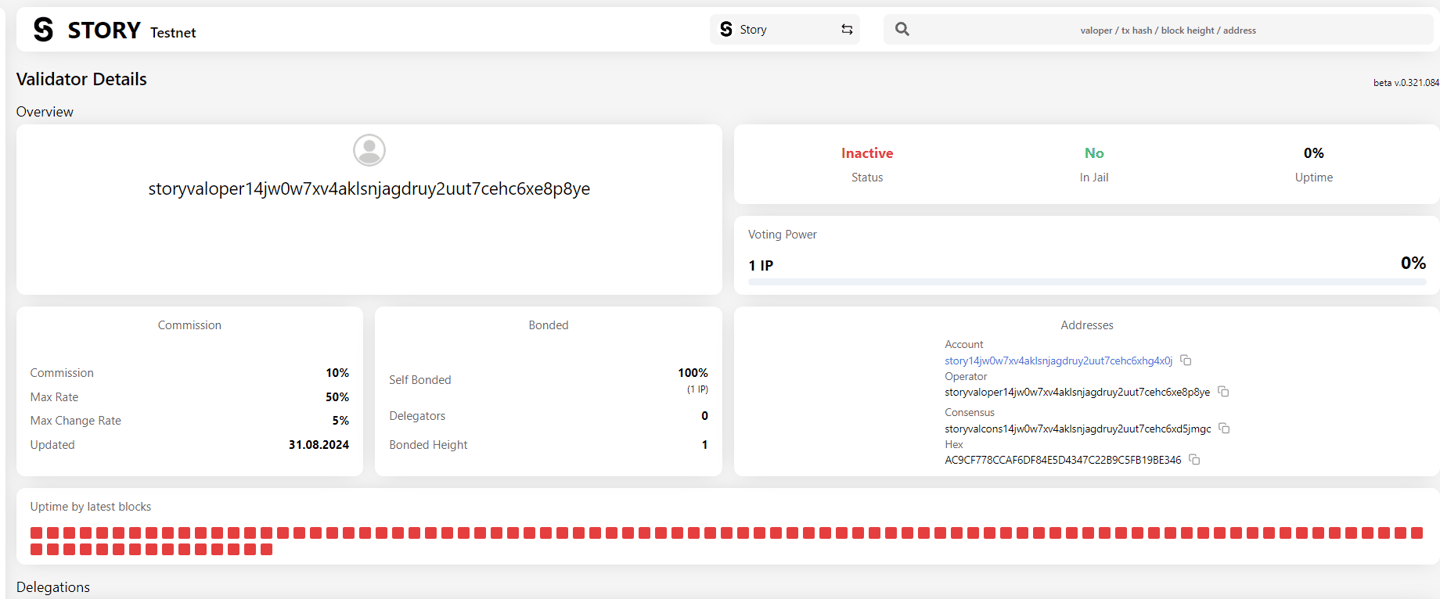

Congratulations! Your validator node appears on the testnet explorer and is not jailed. If you see "jail: no," it means everything is working fine. However, if it says "jail: yes," it indicates your validator has been jailed, likely because it stopped running at some point.
Now, you might be wondering why your validator isn't active. The answer is simple: only the top 100 validators in a blockchain can be active. Of course, this number varies from one blockchain to another. To be among the top 100 validators, you need to have one of the highest amounts of staked tokens.
This is why it's important to keep requesting 1 IP token every 24 hours and continue staking.
Stay tuned for my next article, where I'll guide you on how to become an active validator.
Related Articles


