Explore Nubit Alpha Testnet Features | Tutorial
Discover the secure Nubit Alpha testnet, designed to explore Bitcoin's data capabilities. Follow our step-by-step guide to participate in Nubit development and earn rewards.
CRYPTOCRYPTO NEW PROJECT
Digital Didactica
8/29/20243 min read
Introduction to the Nubit Alpha Testnet
The Nubit Alpha Testnet is a test version of the Nubit network, designed to allow developers and users to explore and interact with Nubit’s features in a secure environment. This testnet offers the opportunity to discover how Nubit expands Bitcoin’s data capabilities by providing a scalable and cost-effective data availability layer.
In this tutorial, we will walk through the various tasks to be completed on this testnet step by step, helping you get familiar with how Nubit works and how you can fully participate in its development.
Nubit Official Links

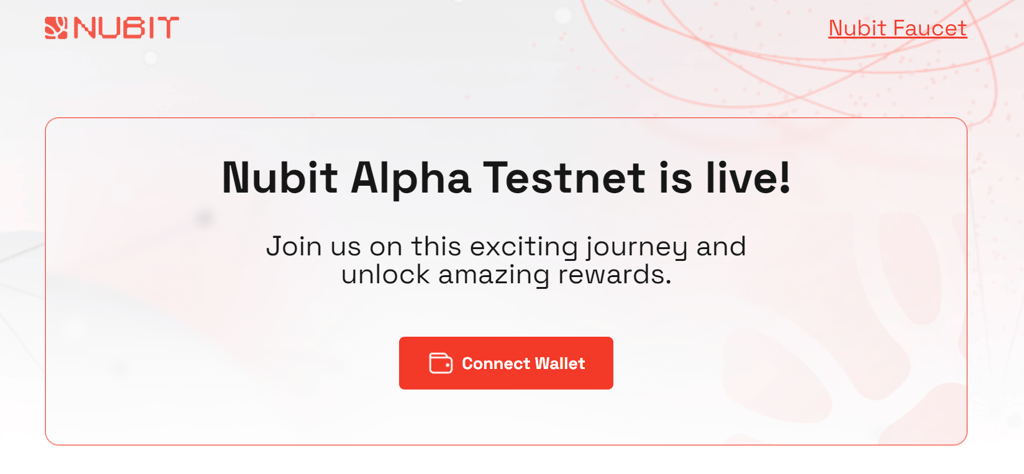
Connect Your Wallet

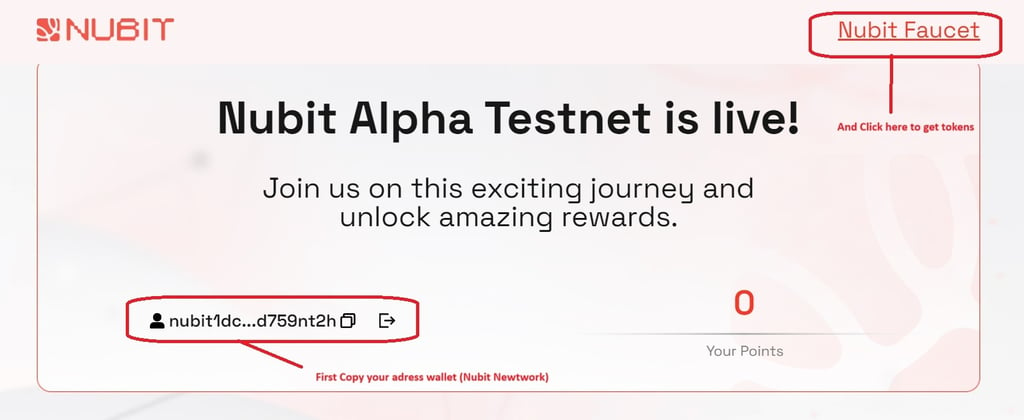
Copy your adress wallet and click on the Nubit Faucet Button

Get NUB and Extra bonus
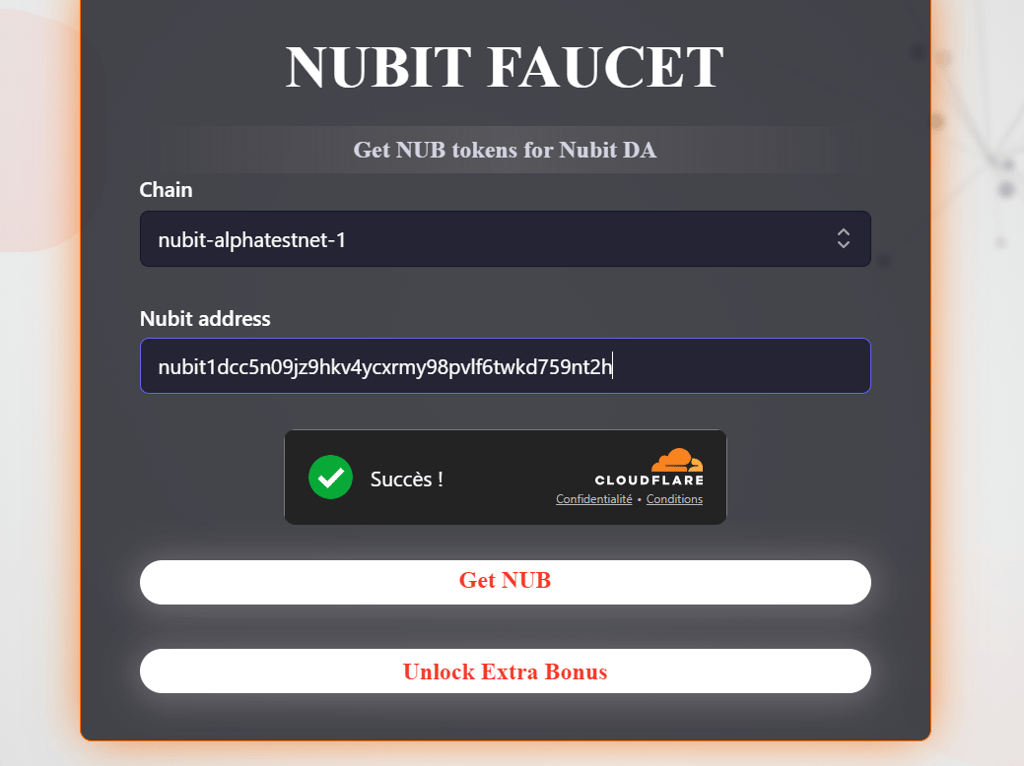

You must paste your adress walllet and click on Get NUB Button
You can Unlock Extra bonus, you must retweet a Nubit Tweet
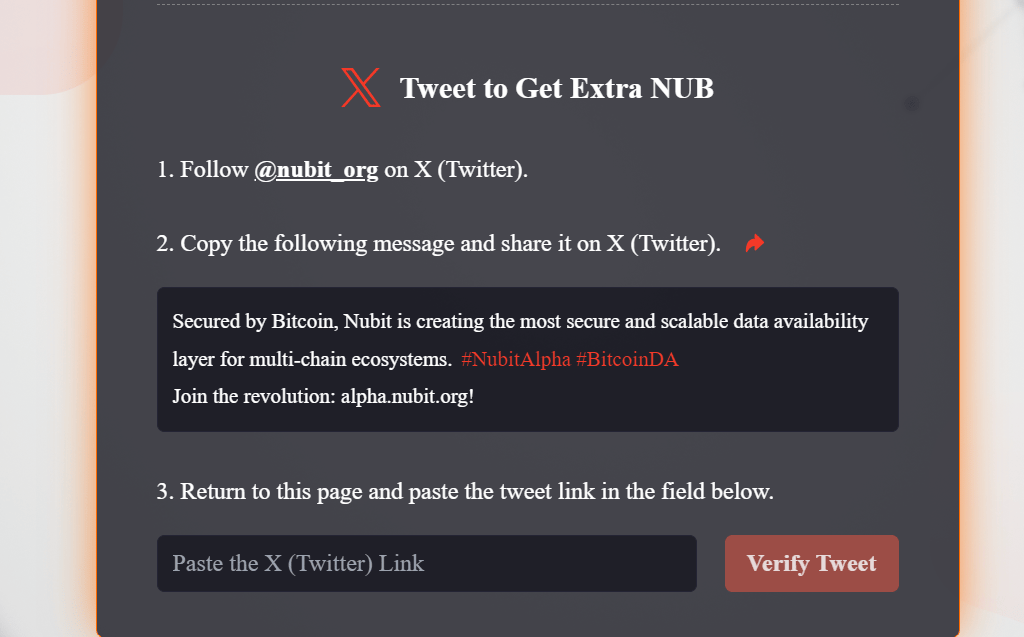

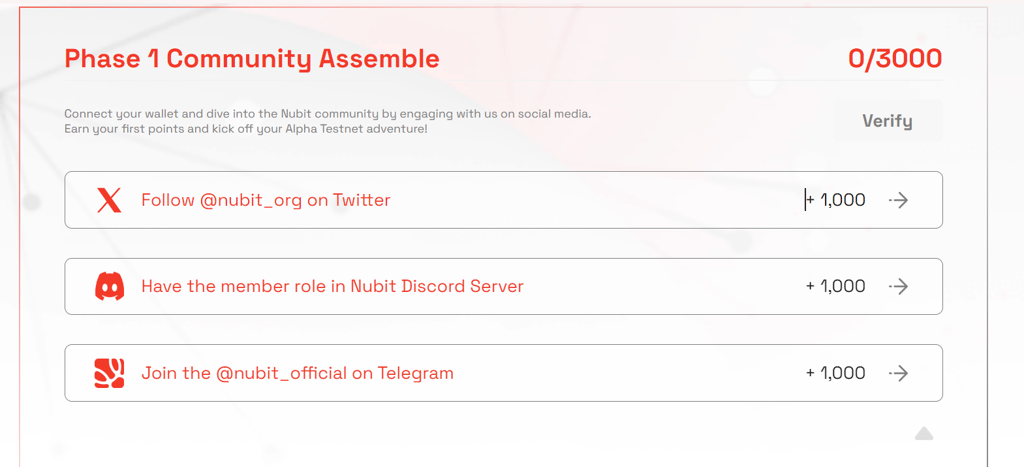

For phases 01 and 03, I believe you won't have any trouble completing the tasks. Phase 01 involves connecting to all of their social media groups, such as Discord, X, and Telegram.
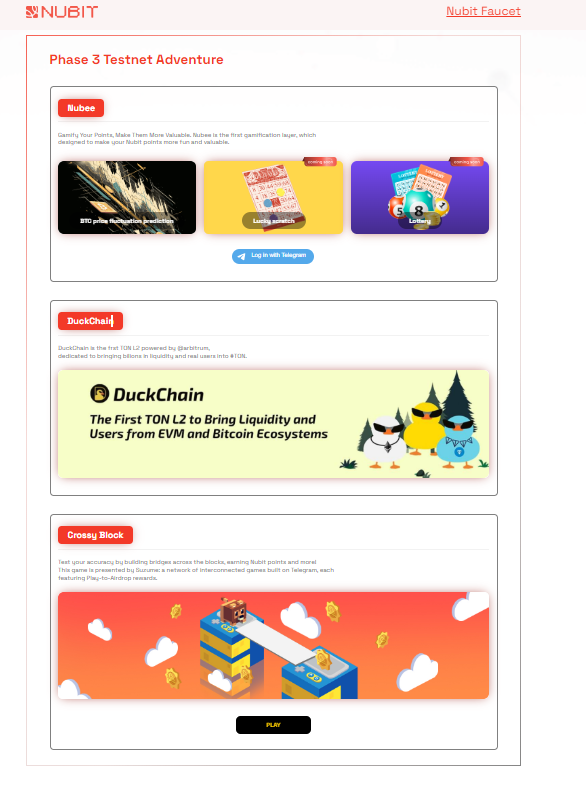
Phase 03 of the Testnet Adventure involves playing their various games. The more you play, the more points you can earn. I'll leave you to have fun and enjoy the experience!

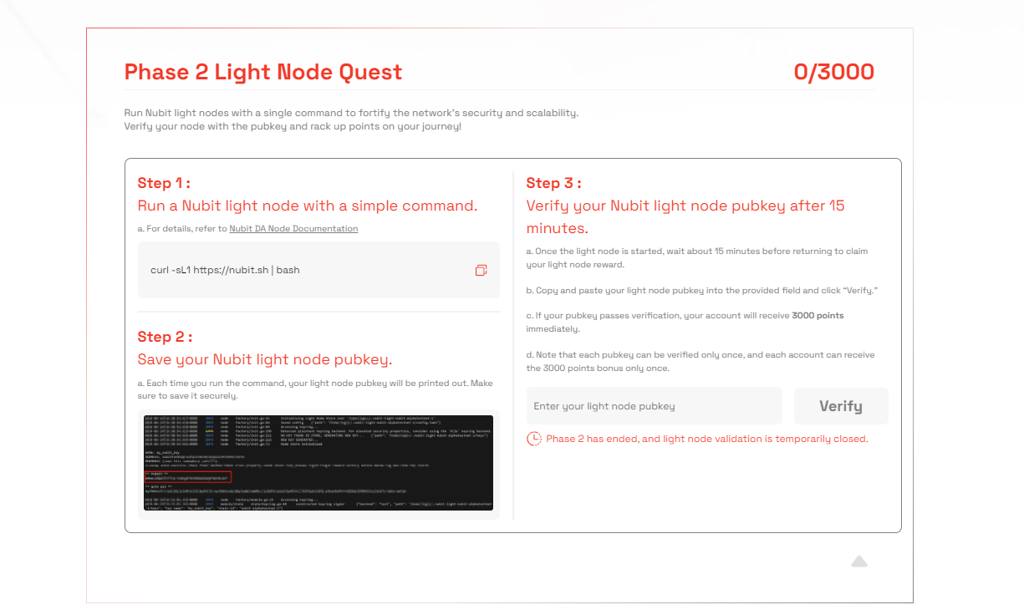
We will focus on the phase 02 where they ask us to launch a light node. For those who regularly follow my articles on different testnets, this one seems relatively straightforward. However, many people hesitate to take the step of launching a node because they don't know where to start.
Don't worry, we will go through it together. For beginners, this is a great testnet to start with.
Attention: Before starting phase 02, make sure the light node test isn't temporarily closed. If it is, check the official Discord for updates on when it will reopen. Meanwhile, you can continue earning points by moving on to phase 03.

Before starting, you will need to get a VPS.
Feel free to click the button below to access the guide that shows you how to choose your VPS, select it, and get it up and running.


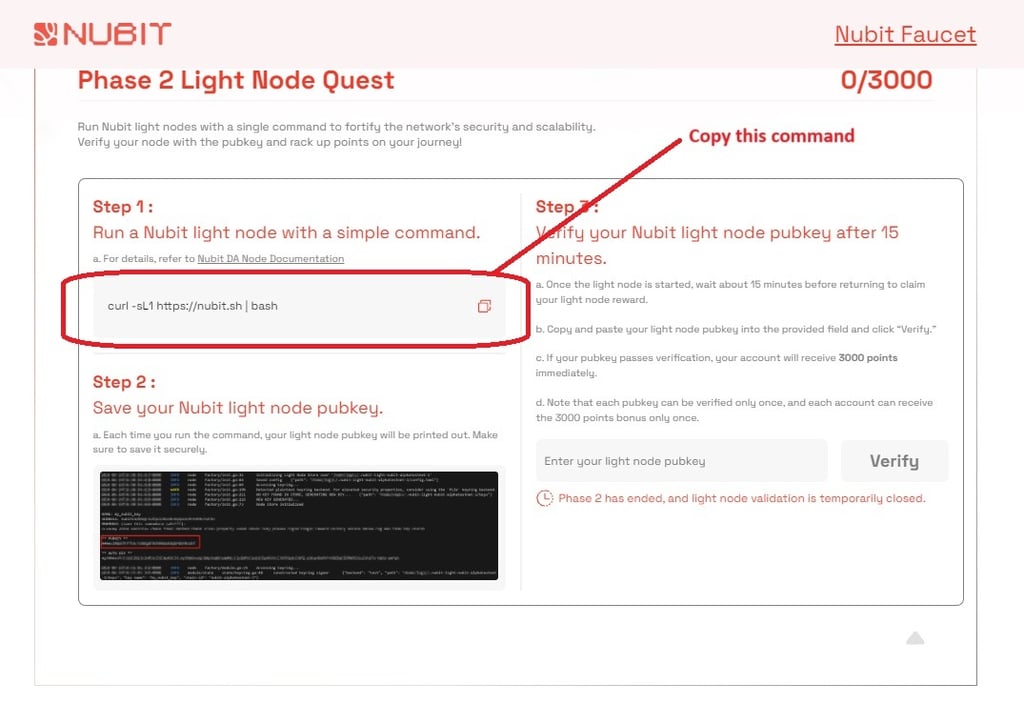
Once your VPS is up and running, copy and paste the command below:

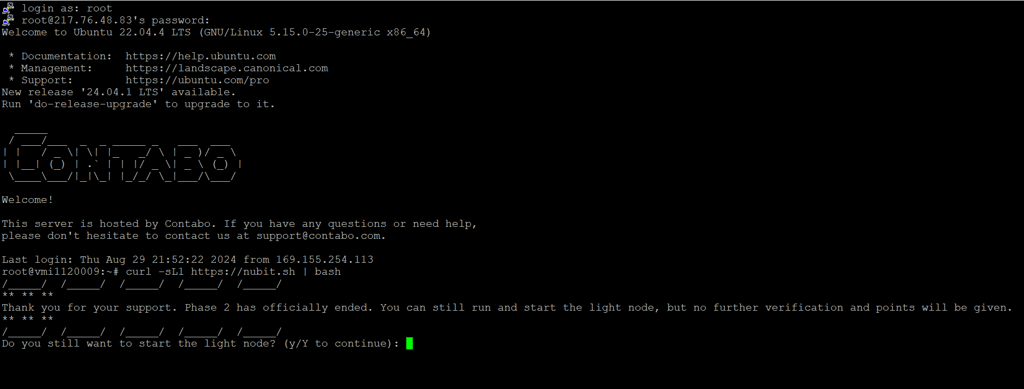

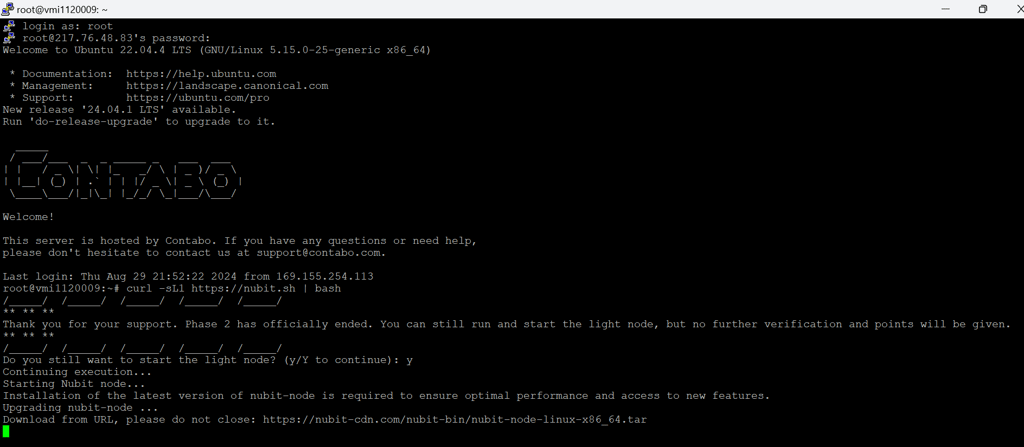

Press Y and Enter
Wait 15 minutes

You should see your pubkey and authkey appear. If you don’t see them, you can stop your node by pressing Ctrl+C, paste the command again to restart your node, and you will see the keys appear at the beginning. Make sure to select, copy, and save this information in a notepad for safekeeping.
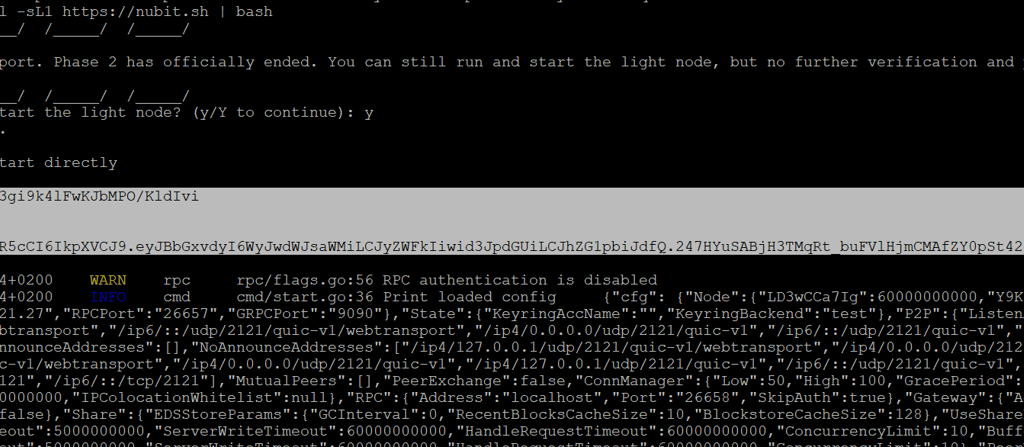

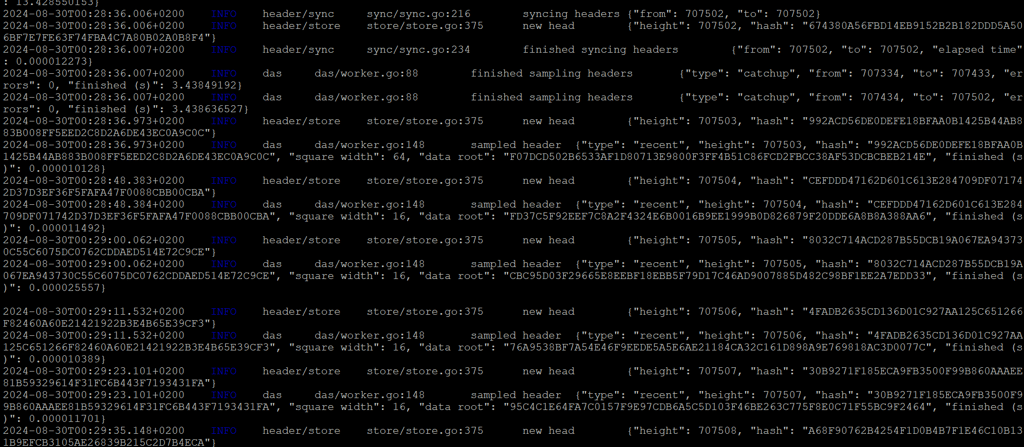
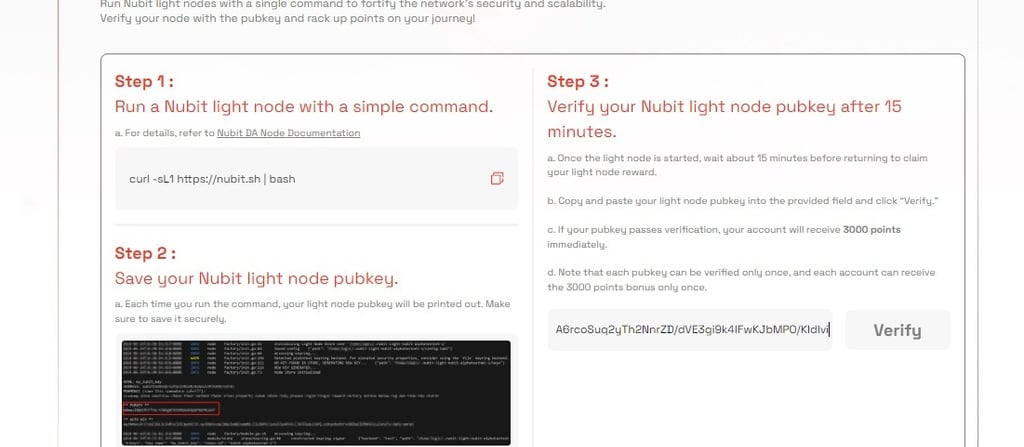
You have restarted your node and retrieved your pubkey. Now, you need to wait for your light node to display the information as shown below before you can paste your pubkey into the testnet dashboard.



Related Articles


