The Complete Guide to Creating Your Website with AI
Learn how artificial intelligence can streamline the design process, enhance user experience, and help you build a successful online presence effortlessly. Discover the power of AI for your website...
BUSINESS PREMIUM ARTICLESAIAI PREMIUM ARTICLESBUSINESS
Digital Didactica
6/29/20246 min read


Creating a website today is more accessible than ever, especially with advancements in artificial intelligence that simplify and automate many processes. This detailed guide is designed for beginners and explains step-by-step how to launch your online project with an advanced AI solution.
Why Not Outsource Your Website Creation?
Total Control: By creating your own website, you have complete control over its design, features, and content. You can customize every aspect according to your needs and preferences, which may be limited when outsourcing.
Cost Savings: While outsourcing may seem convenient, it can be costly. By learning to create your website, you save on long-term development and maintenance costs.
Learning and Autonomy: Building your website helps you gain valuable skills in web design, development, and content management. This makes you more self-sufficient and capable of solving technical issues in the future.
Flexibility and Scalability: You can easily adjust and expand your website over time to meet changing business or project needs. You are not constrained by third-party timelines or policies.
Security and Privacy: Maintaining internal control of your website allows you to better manage data security and ensure confidentiality of sensitive business information.
Alignment with Your Vision: No one understands your business or project better than you. By creating your website, you can ensure it accurately reflects your vision and goals.
In summary, while outsourcing may be an option for some businesses, creating your website offers increased control, long-term cost savings, enhanced autonomy and flexibility, and improved security and data privacy. These factors often make self-creation a more advantageous option for many entrepreneurs and small business owners.
In this guide, we will show you how to first subscribe to a web hosting plan, purchase a domain name, and start creating your site with AI in the simplest way possible.
If you are ready to take the first step to start creating your website, click the button below :
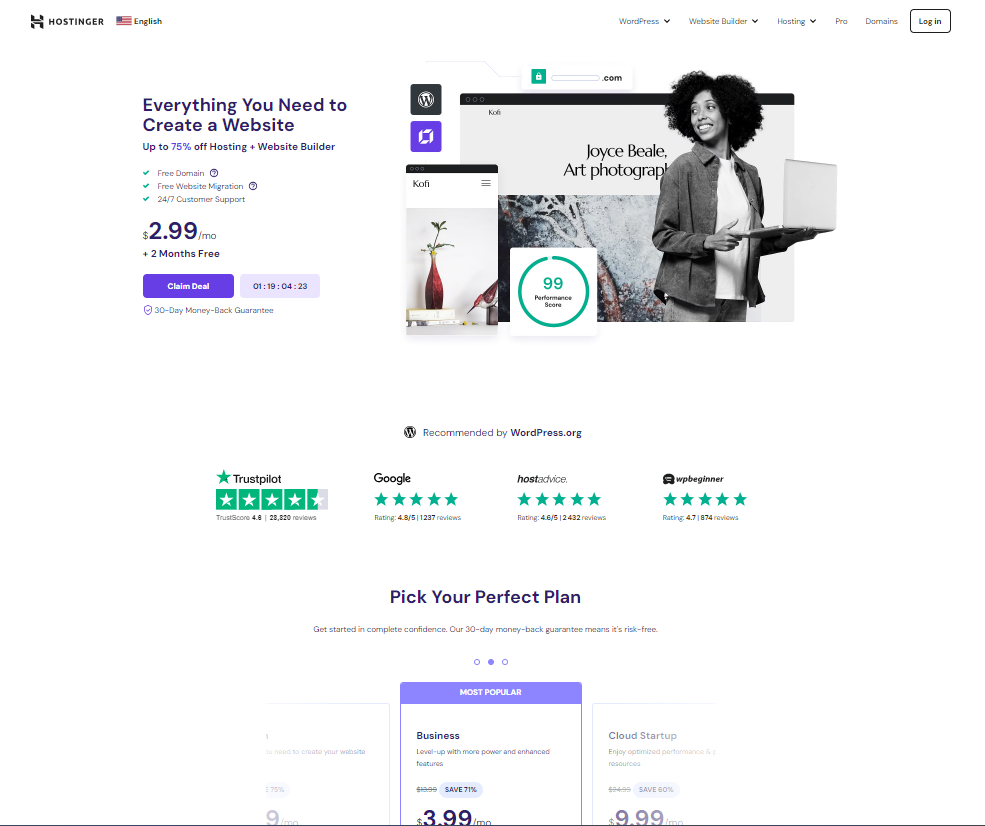

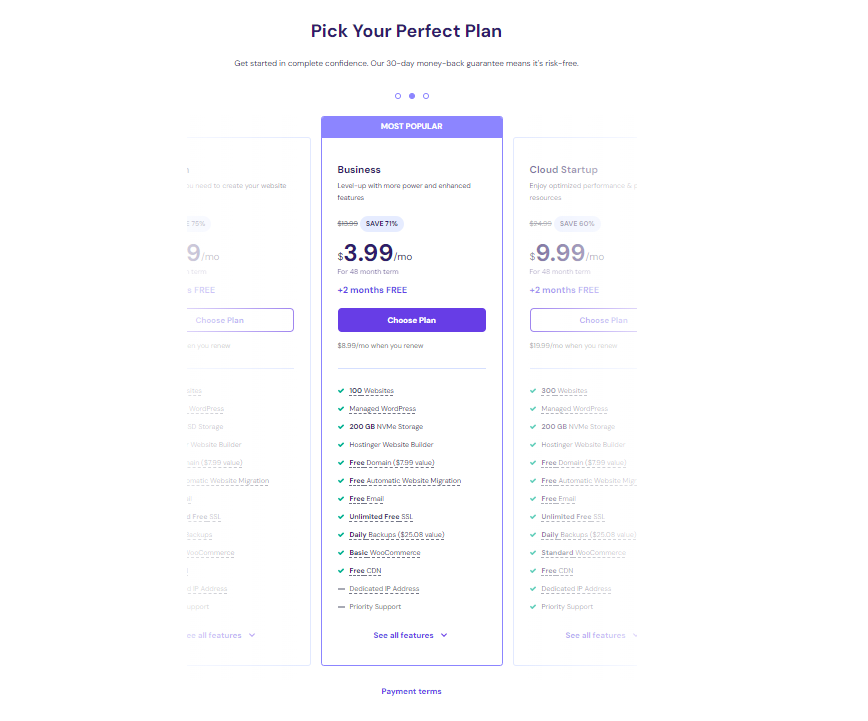
Choose your server plan that will host your website or websites. If it's for a single or a few showcase sites, there's no need to opt for a super powerful plan; choose the cheapest one.
You can upgrade it later according to your needs :

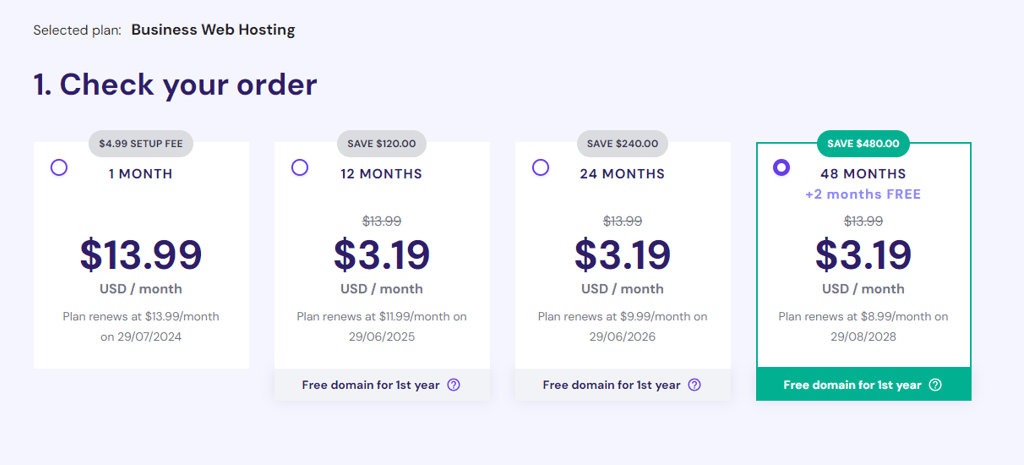
Once you have chosen your plan, you will find yourself on the page illustrated in the image below. You must select the duration you wish to pay for. Of course, if you pay in advance for 4 years, you will make serious savings. Otherwise, you have the option to pay monthly, which will renew each month but will be more expensive in the long run.


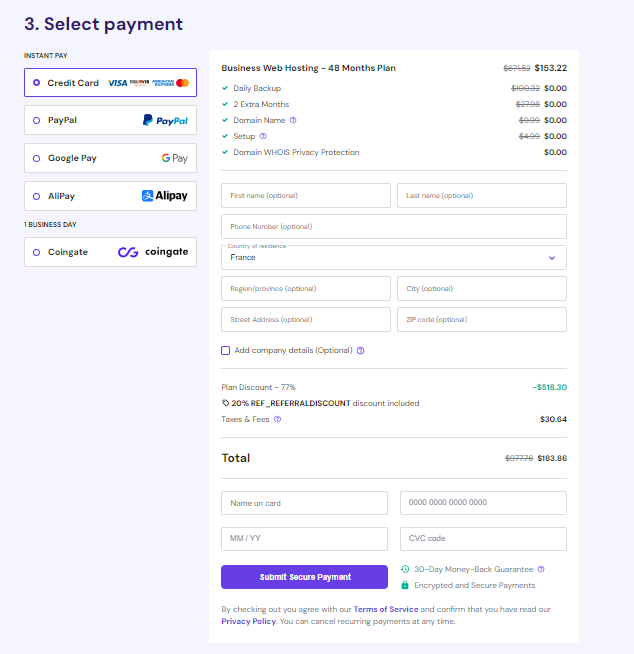

Then you are invited to create your account either through authentication via Google or Facebook, or by entering an email address and password to access your dashboard. In your dashboard, you will see your web hosting provider containing your website.
And finally, here you proceed to enter your personal information as well as your banking details to be able to pay for the service you have chosen.
For the next part of the guide, I will show you my dashboard so you can have a concrete view.
Now that you are connected to your dashboard, navigate to the hosting section where you will find your first web host. In my case, my host accommodates 4 sites, but for you, it will be zero. It will be up to you to create sites using your web hosting service :
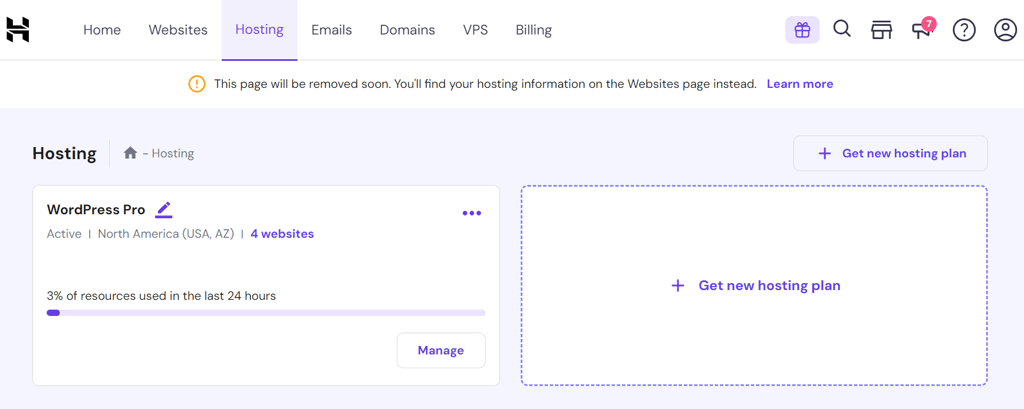

Before creating your website, you need a domain name. Simply put, a domain name is the unique address that users type into their browser to access your website. It's like your home address on the internet. The domain name helps visitors easily find your website and consists of two main parts: the name (like "digitaldidactica") and the extension (like ".com", ".net", ".org", etc.). It also serves to identify and distinguish your website from others on the internet.
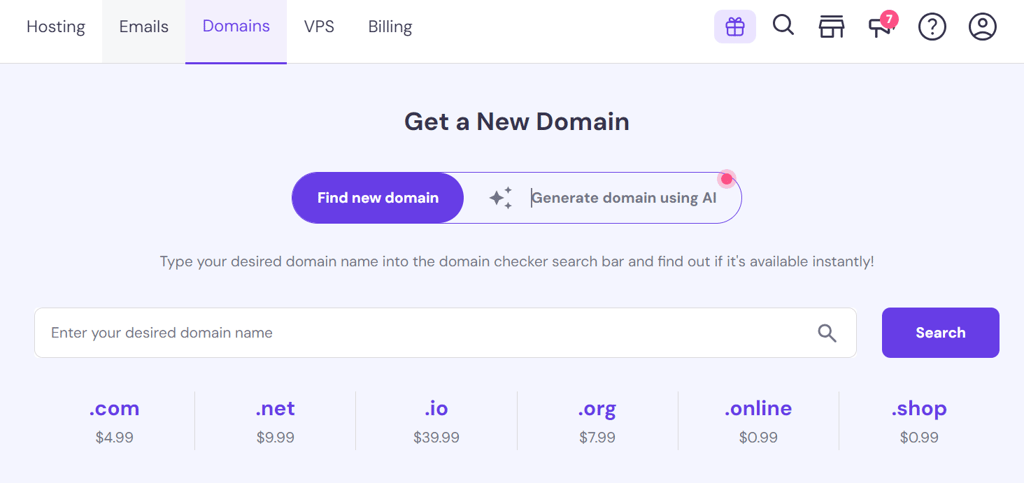
Go to the "domains" section and click on "get a new domain" to begin purchasing your chosen domain name.


You have the option to search for a domain name of your choice and see if it is available.

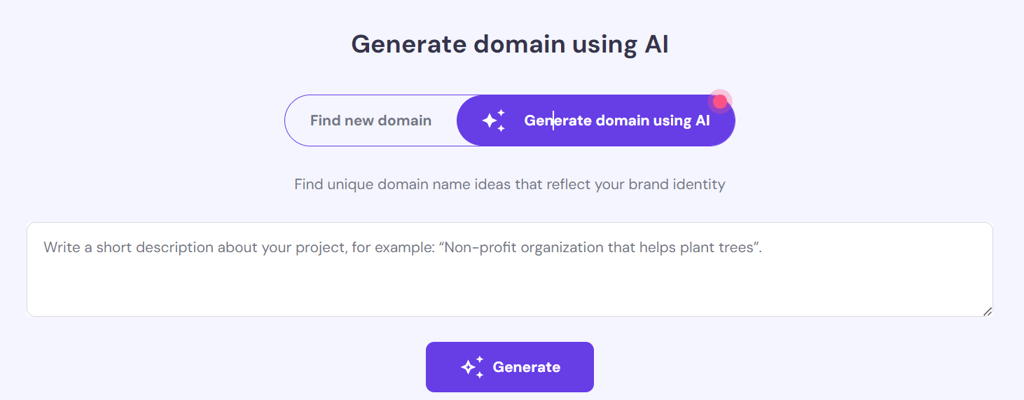
AI can assist you in finding the right domain name that aligns well with what you intend to do.

Normally, the initial offer grants you the right to have your first domain name for free. I won't dwell on domain names any longer, but I still wanted to give you a few tips: Don't rush to decide on a domain name. You can easily start building a site without one and then later, once you've purchased the domain name, all you have to do is connect your site to it.
And you should know, a domain name cannot be bought for life; you can purchase it for a minimum of one year and it automatically renews at a price that may vary from year to year. When purchasing your domain name, you will receive information about the renewal of your domain name. Another important point for saving money: it's better not to use the free domain name that allows you to get the offer you subscribed to because it will cost a lot more to renew. I recommend buying the domain name because it will be much cheaper to renew.
Once you have purchased your domain name, it will automatically appear in the "domains" section where you can manage it.
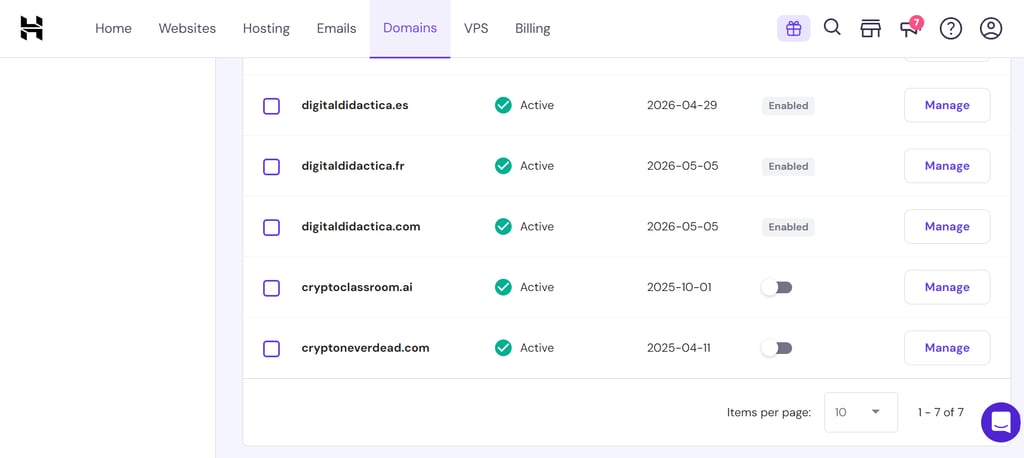

In the example above, you will see that I have several domain names. For you, if this is the first domain you just purchased, you will have only one domain name.
Now that we have ensured that the domain name is active, we can focus on creating the website by going to the "Websites" section.
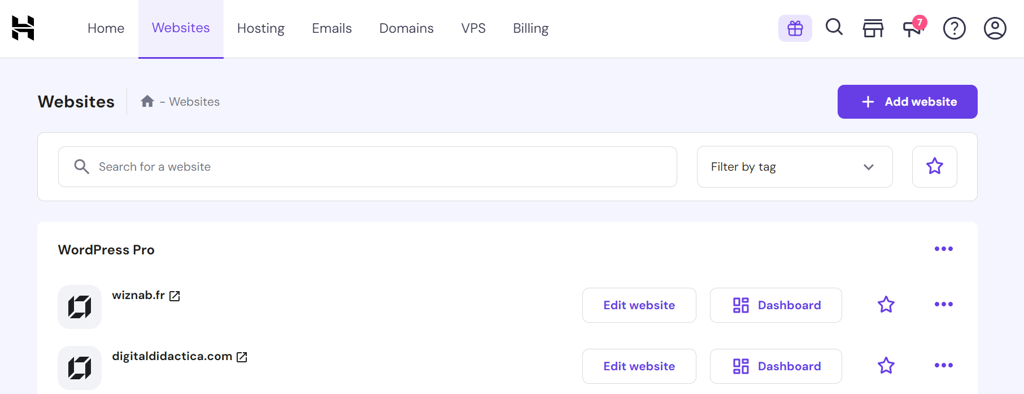

Here, you can see all my sites hosted on the web host. In your case, you will have none.
So, you will create your first website by clicking on the "+Add Website" button.
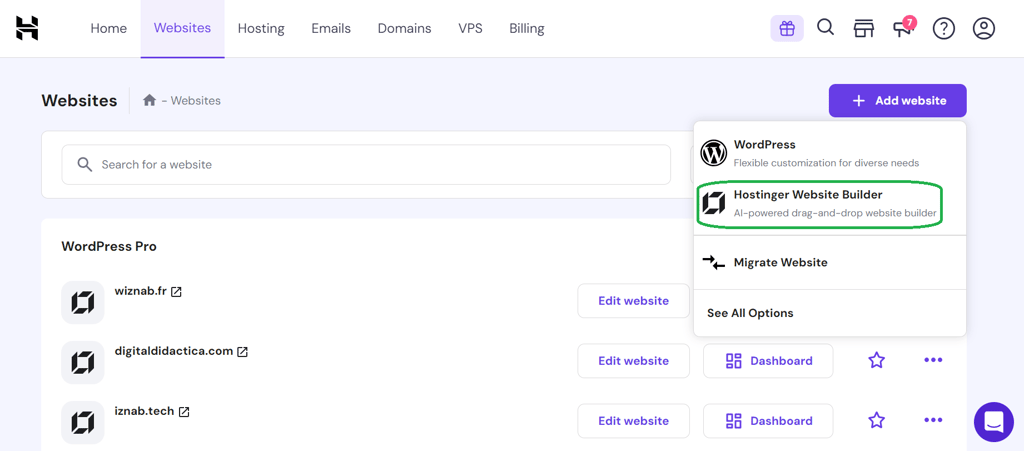

Select Hostinger Website Builder to take advantage of AI technology.
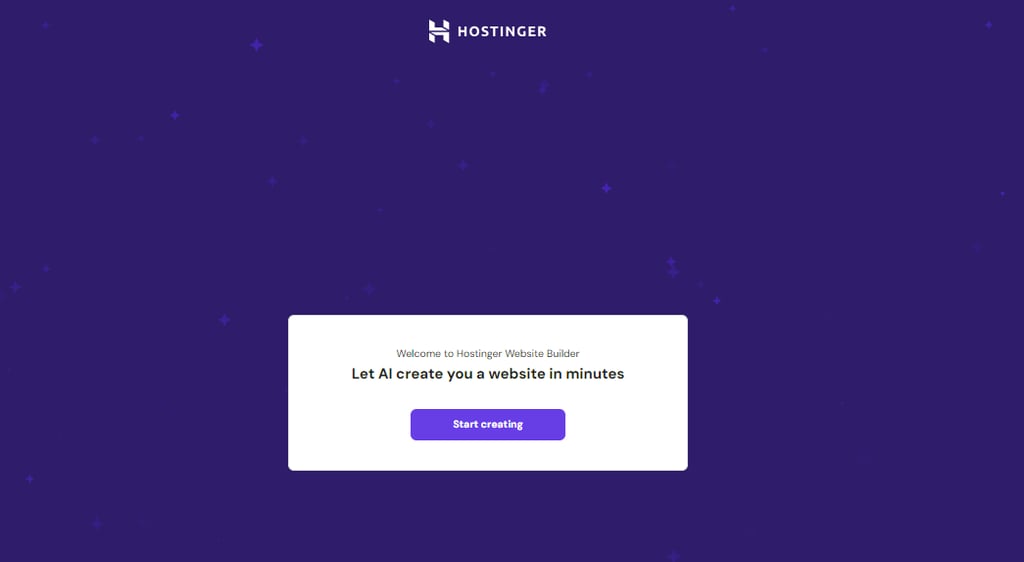

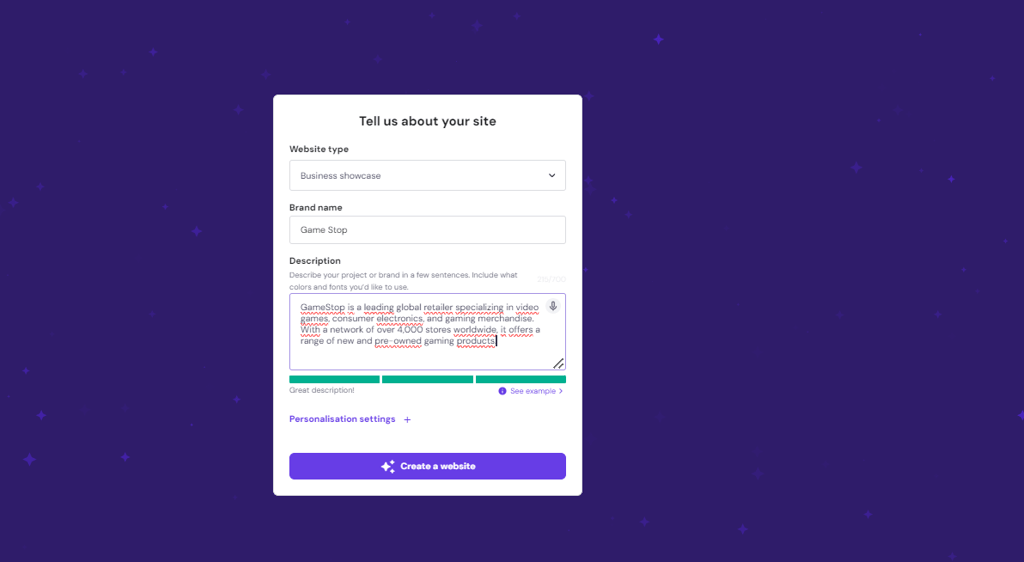

Enter the information about what you want your website to be, whether it’s a blog, an online store, or a showcase site, etc. Also, provide the name of the site so that the AI can take it into account. Then, in a few lines, explain what your site is about and in which field, etc. Finally, click on the "Create a Website" button.
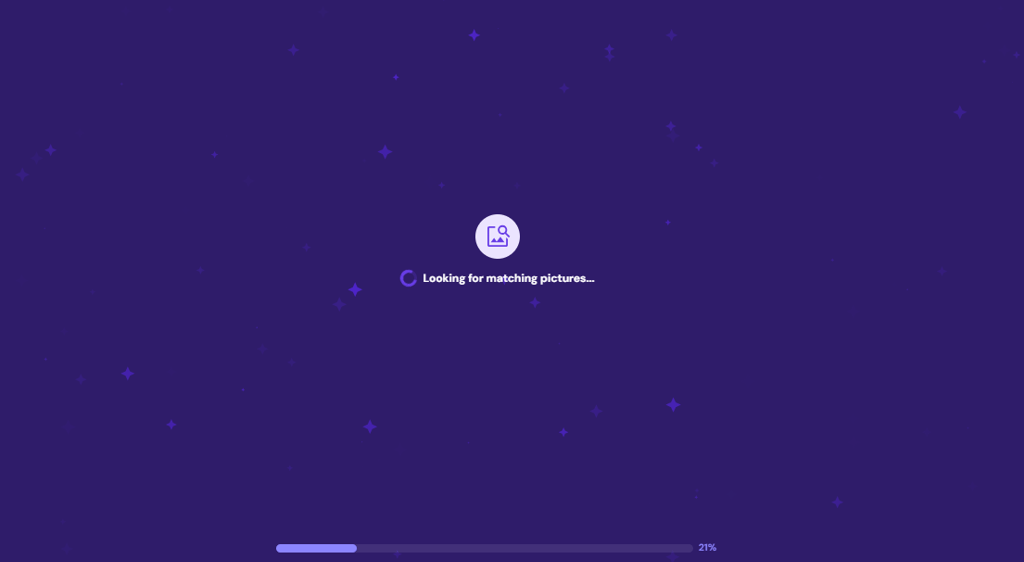

Let the magic of AI work.
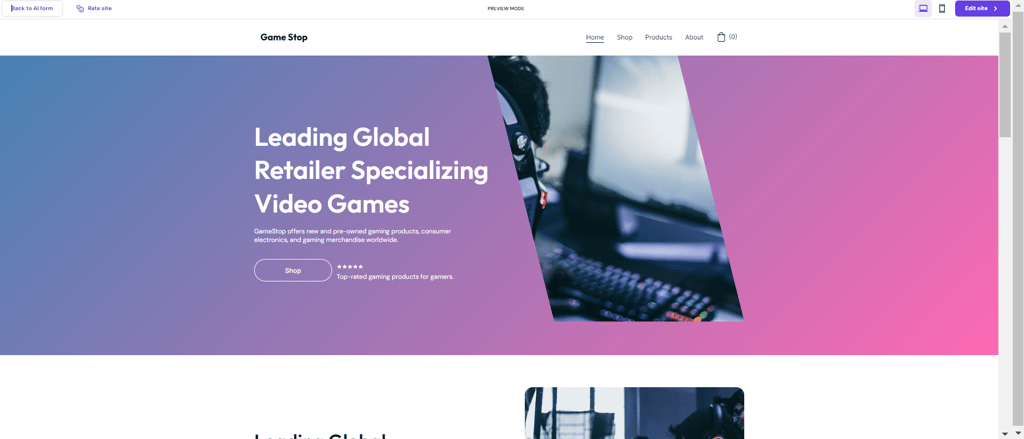

VOILÀ, based on the information you have provided, the AI has created an initial draft of your website. You can customize it as you wish by clicking on the "Edit Site" button at the top right. Before clicking the button, take the time to navigate the site to see if this draft suits you. If not, you always have the option to click the "Back to AI Form" button at the top left to provide more information.
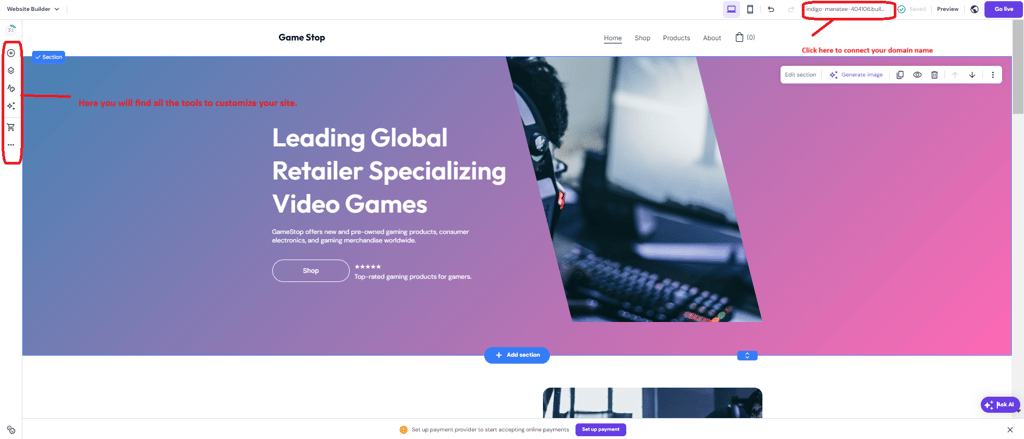

You can work on editing in a very intuitive and simple way, also using AI tools offered by Hostinger, and you can publish online at any time with just one click by clicking the 'go live' button.
In conclusion, creating your own website using modern tools like artificial intelligence offers numerous advantages. It not only allows for complete control over design and functionality but also provides valuable skills in web management. Avoiding initial outsourcing can save costs in the long run and ensure better data integrity and security. By following this step-by-step guide, even beginners can effectively embark on establishing their online presence while optimizing resources and ensuring the sustainability of their project.
Related Articles


